
My Garage
My Account
Cart
Genuine Jeep Compass Oil Filter
Engine Oil filter- Select Vehicle by Model
- Select Vehicle by VIN
Select Vehicle by Model
orMake
Model
Year
Select Vehicle by VIN
For the most accurate results, select vehicle by your VIN (Vehicle Identification Number).
11 Oil Filters found
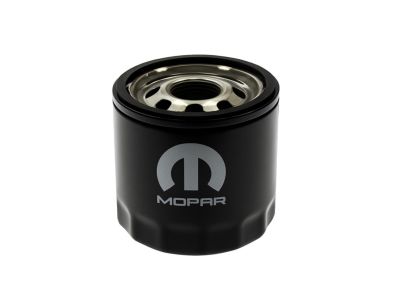
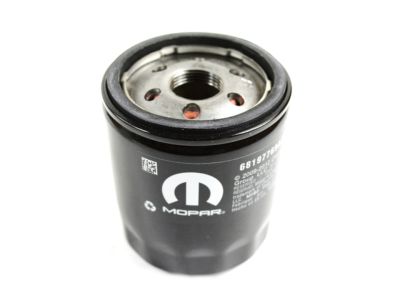
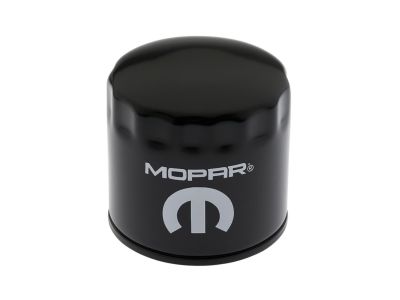
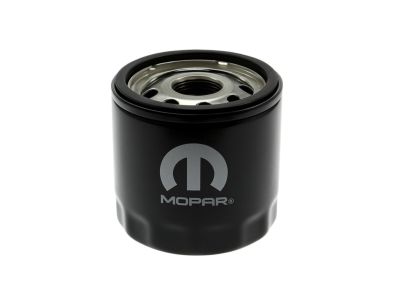
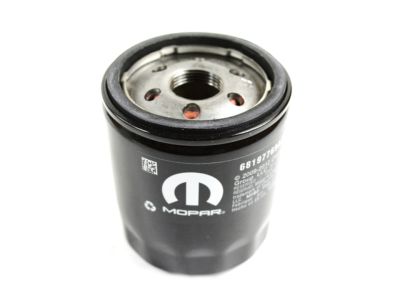
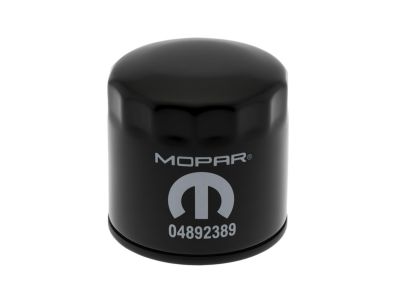
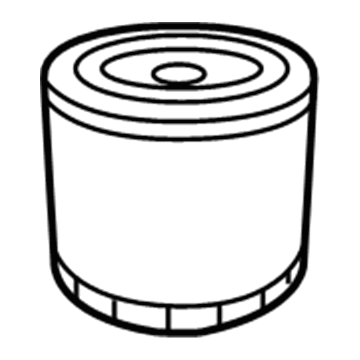
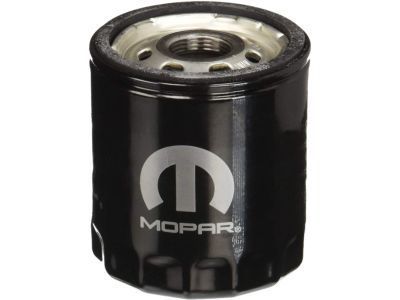
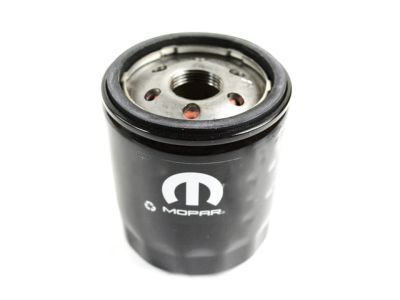
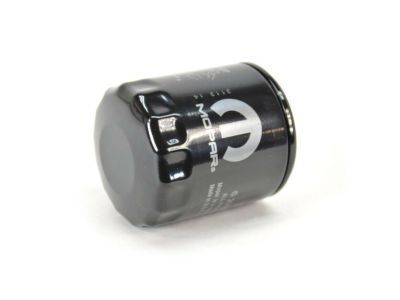
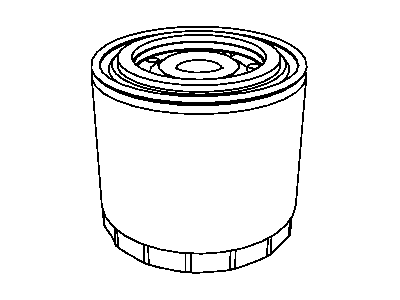
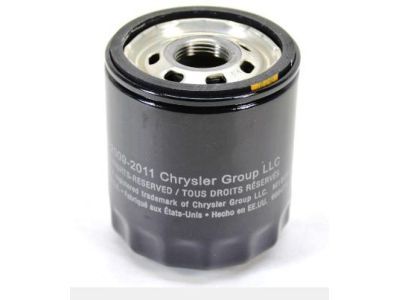
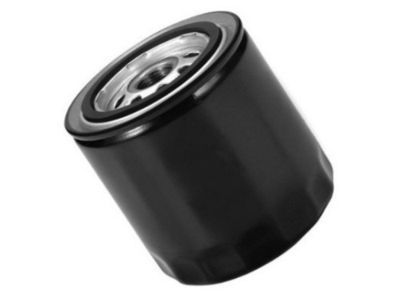
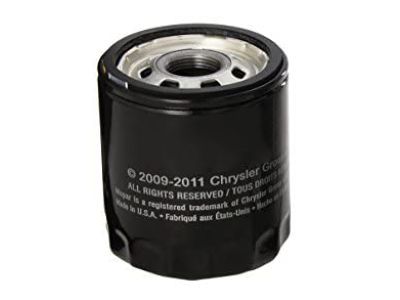
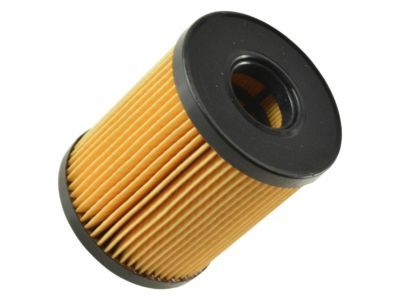
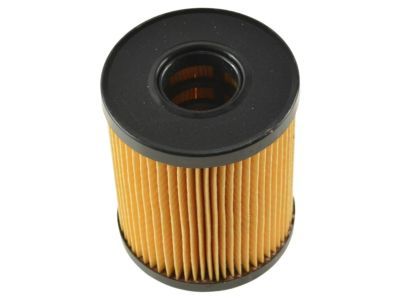
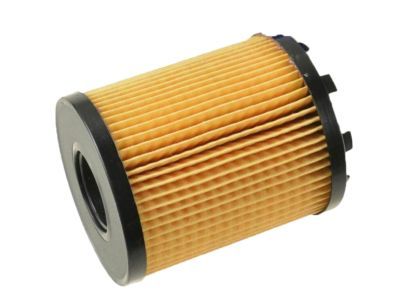
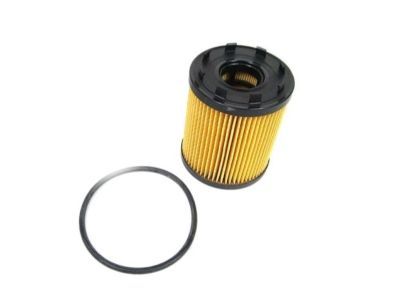
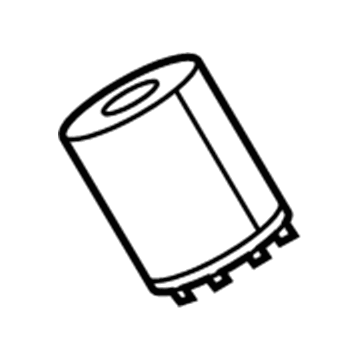
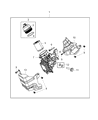
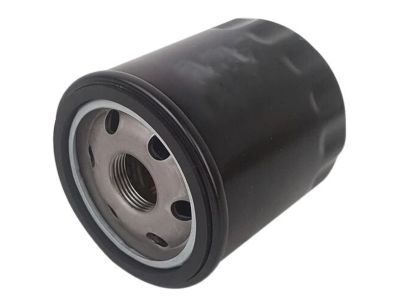
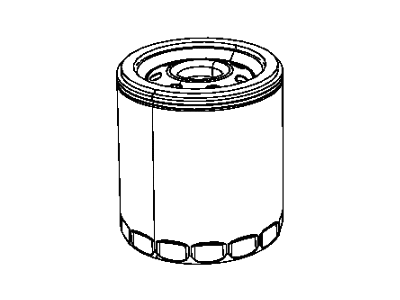
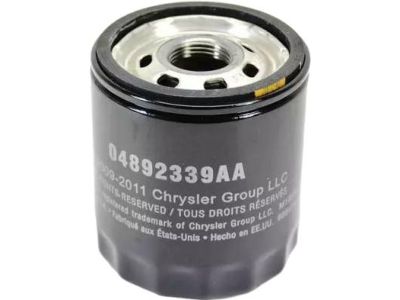
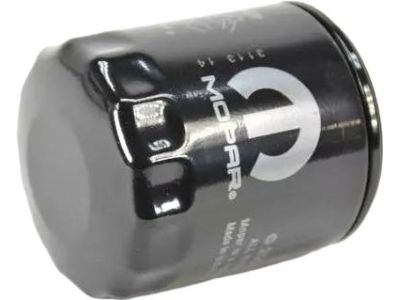
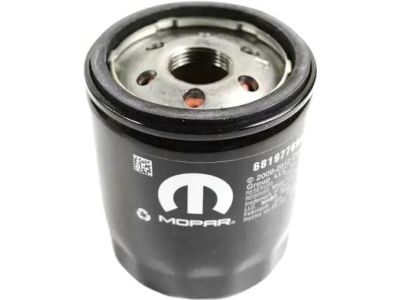
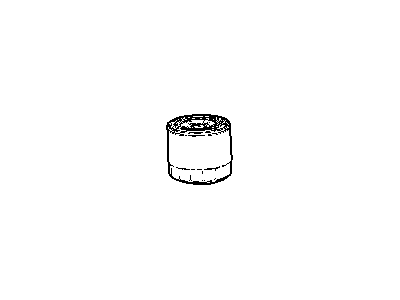
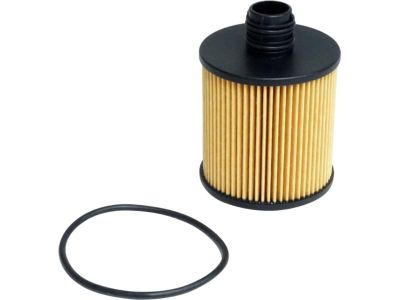
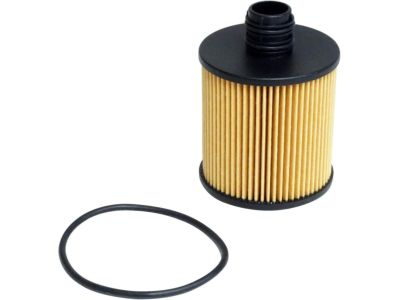
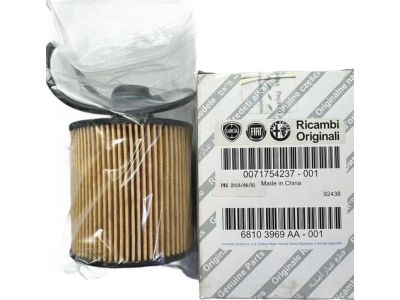
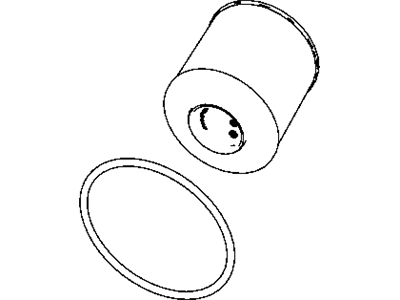
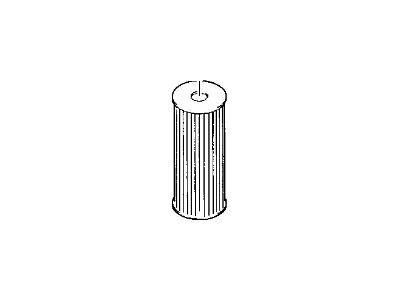
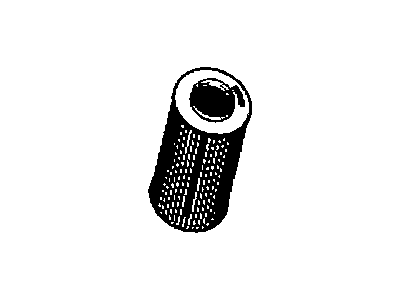
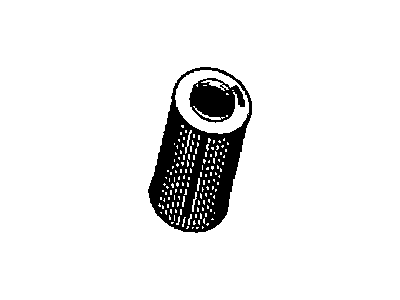
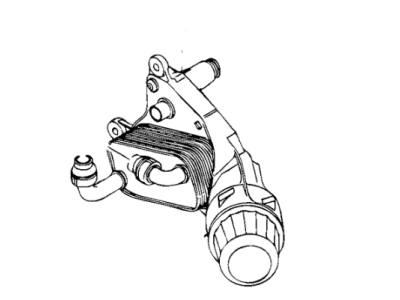
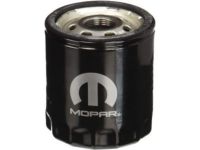
Jeep Compass Filter-Engine Oil Filter
Part Number: 68408390AA$143.26 MSRP: $214.00You Save: $70.74 (34%)
Jeep Compass Oil Filter
Jeep Compass vehicles are fitted with an Oil Filter which is instrumental in making sure that the engine oil remains clean and Debris free. It works through eliminating the impurities and at the same time making sure that it contain the small particles that may be dangerous to the engine while at the same time making sure that the oil is properly circulating to effectively lubricate and protect the engine. Jeep Compass models use both replaceable element cartridge filters as well as spin-on filters or Greece with a strong metal body that is well fitted to endure high oil pressure and engine oscillations. Wrapping up, there have been developments made into Oil Filter technology for Jeep Compass such as those filters that can trap almost all kind of particles at 99 percent efficiency. These performance spin-on filters are designed with thick canister walls that sets the product to withstand severe conditions. It was noteworthy that the Oil Filter in Jeep Compass vehicles has gone a step ahead to ensure Jeep Compass vehicles are well filtered to enhance better engine performance and longevity.
Looking for affordable and high-quality auto parts? Then you have already arrived at the proper online shop. We offer all Jeep Compass Oil Filter at great affordable prices. Moreover, all genuine Jeep Compass Oil Filter come with a manufacturer's warranty. In the long run, you would realize you have saved a lot of trouble and money with OEM parts from here.
Jeep Compass Oil Filter Parts Questions & Experts Answers
- Q:How to perform frequent oil and Oil Filter changes as preventive maintenance for the engine on Jeep Compass?A:Frequent oil changes are the best preventive maintenance the home mechanic can give the engine, as aging oil becomes diluted and contaminated, leading to premature engine wear. Before beginning the procedure, ensure you have all the necessary tools and plenty of rags or newspapers for spills. Access to the underside of the vehicle is improved with a hoist, ramps, or jackstands, but avoid working under a vehicle supported only by a bumper or jack. Familiarize yourself with the oil drain plug and filter locations before starting. Park the vehicle on a level spot, start the engine to reach normal operating temperature, then turn it off and remove the filler cap. Raise and secure the vehicle on jackstands, being cautious of hot exhaust components. Place a drain pan under the drain plug and remove it, allowing the old oil to drain completely. Inspect the old oil for metal shavings and chips. Wipe off the drain plug and clean the area around the opening before reinstalling and tightening the plug. Move the drain pan under the oil filter and use an oil filter wrench to loosen and remove it. Wipe off the mounting surface on the block and ensure no old gasket remains. Compare the old filter with the new one and apply clean engine oil to the rubber gasket of the new filter. Attach the new filter following the tightening directions. Remove all tools and lower the vehicle. Add new oil through the filler cap, pour four quarts, wait for it to drain into the pan, then check the level on the dipstick. Start the engine and check for leaks at the drain plug and filter. Wait for the oil to trickle down, recheck the level, and add more if necessary. After an oil change, check for leaks and proper oil level during the first few trips. Dispose of the old oil properly. Reset the oil change indicator by turning the ignition key to the On position, depressing the accelerator pedal three times within 10 seconds, then turning the ignition key to the Off or Lock position and starting the vehicle.
Related Jeep Compass Parts
 Jeep Compass Oil Pan
 Jeep Compass Oil Cooler
 Jeep Compass Transfer Case Seal
 Jeep Compass Drain Plug
 Jeep Compass Oil Pressure Switch
 Jeep Compass Oil Filler Cap
 Jeep Compass Oil Pan Gasket
 Jeep Compass Drain Plug Washer
 Jeep Compass Automatic Transmission Filter
 Jeep Compass Dipstick
 Jeep Compass Dipstick Tube
Browse by Year
2025 Oil Filter 2024 Oil Filter 2023 Oil Filter 2022 Oil Filter 2021 Oil Filter 2020 Oil Filter 2019 Oil Filter 2018 Oil Filter 2017 Oil Filter 2016 Oil Filter 2015 Oil Filter 2014 Oil Filter 2013 Oil Filter 2012 Oil Filter 2011 Oil Filter 2010 Oil Filter 2009 Oil Filter 2008 Oil Filter 2007 Oil Filter