
My Garage
My Account
Cart
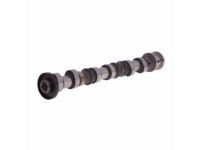
Genuine Jeep Grand Cherokee Camshaft
Cam- Select Vehicle by Model
- Select Vehicle by VIN
Select Vehicle by Model
orMake
Model
Year
Select Vehicle by VIN
For the most accurate results, select vehicle by your VIN (Vehicle Identification Number).
61 Camshafts found
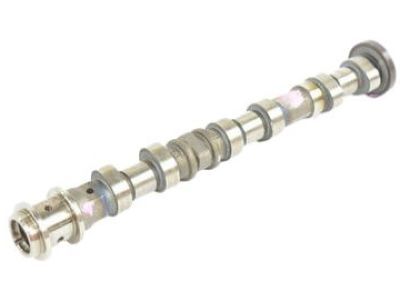
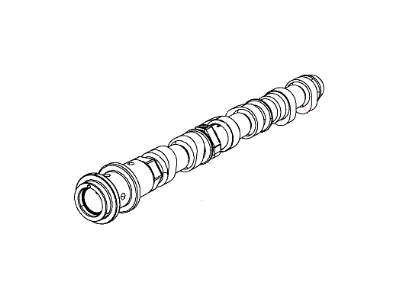
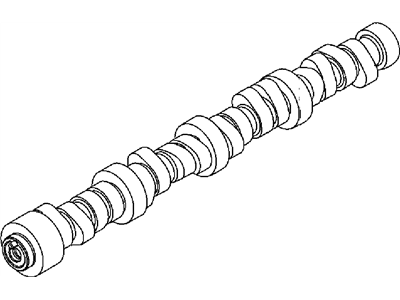
Jeep Grand Cherokee Engine Intake Camshaft
Part Number: 68169840AB$284.58 MSRP: $517.00You Save: $232.42 (45%)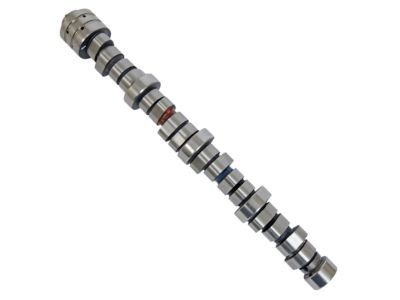
Jeep Grand Cherokee Engine Camshaft
Part Number: 53022065AA$429.04 MSRP: $582.00You Save: $152.96 (27%)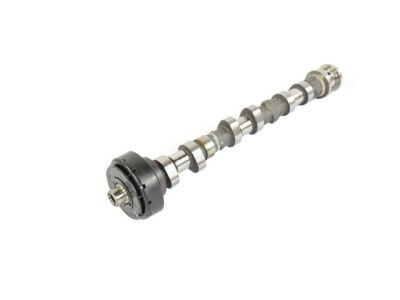
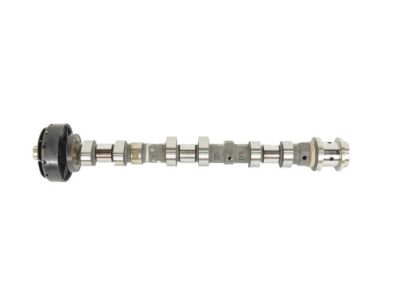
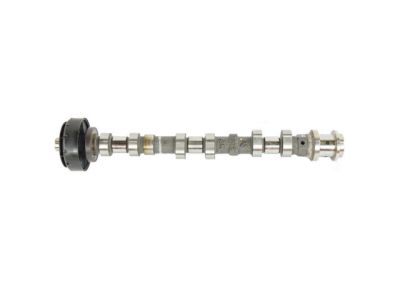
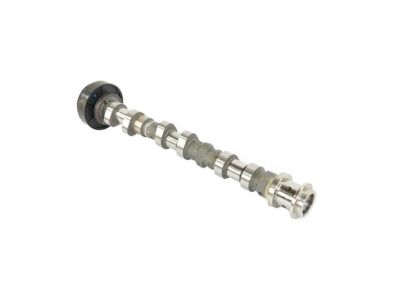
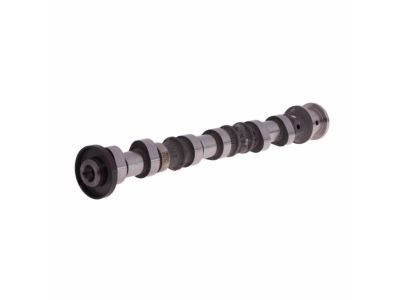
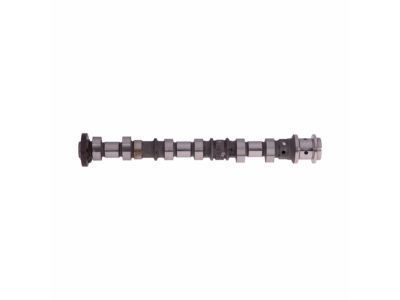
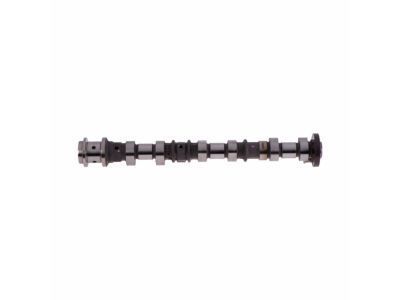
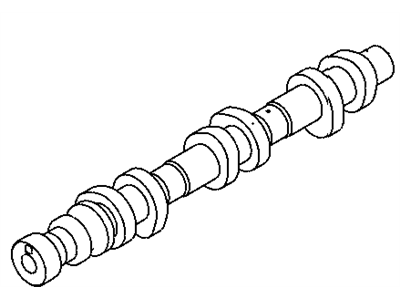
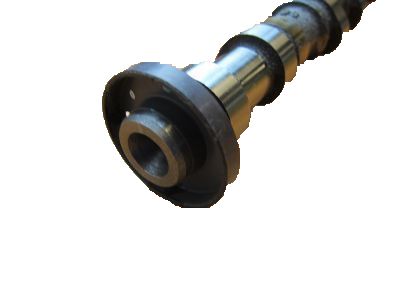
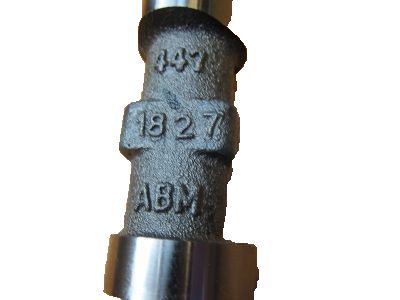
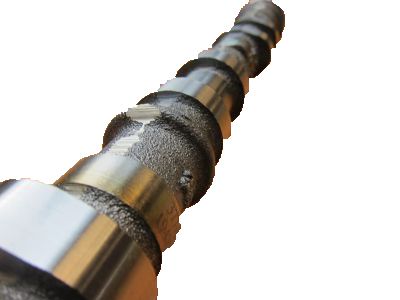
Jeep Grand Cherokee Engine Intake Camshaft
Part Number: 5184380AF$353.10 MSRP: $541.00You Save: $187.90 (35%)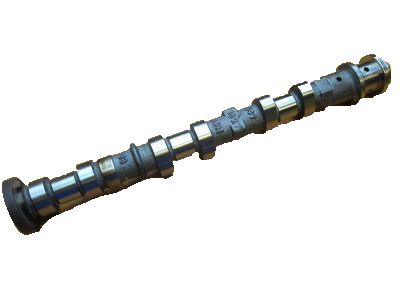
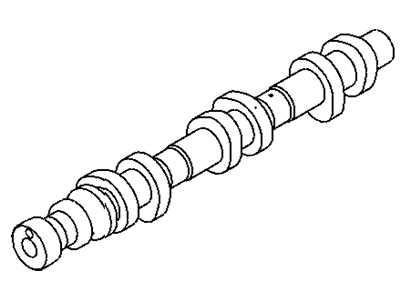
Jeep Grand Cherokee Engine Exhaust Camshaft
Part Number: 5184377AF$361.90 MSRP: $553.00You Save: $191.10 (35%)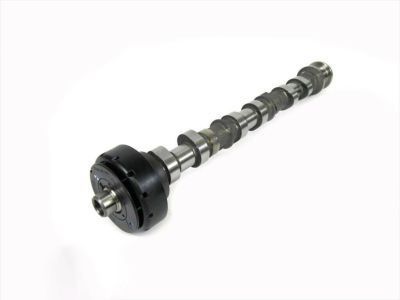
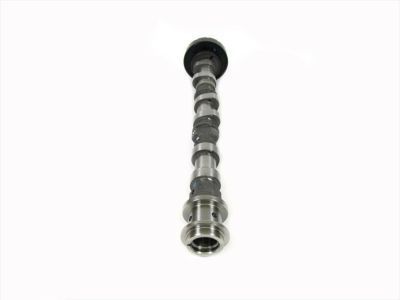
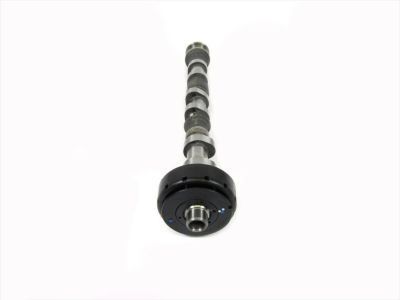
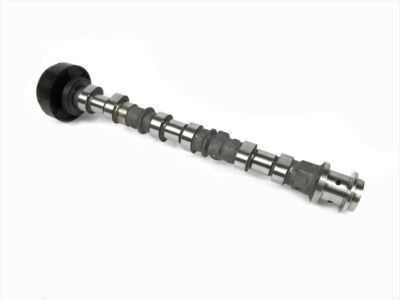
Jeep Grand Cherokee Engine Exhaust Camshaft Right
Part Number: 5184378AF$353.10 MSRP: $541.00You Save: $187.90 (35%)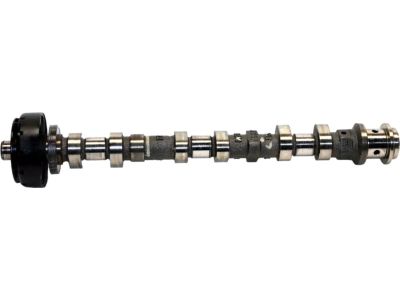
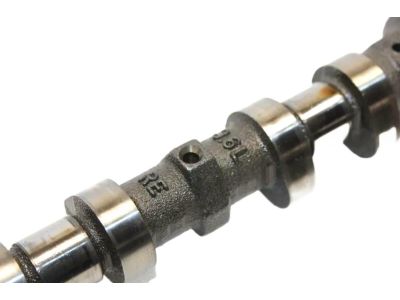
Jeep Grand Cherokee Exhaust Camshaft
Part Number: 5048030AC$177.75 MSRP: $268.00You Save: $90.25 (34%)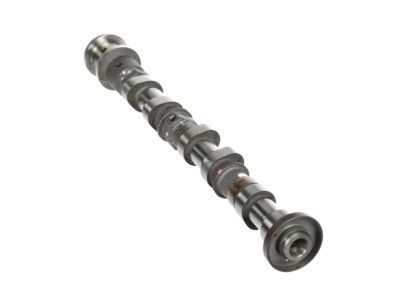
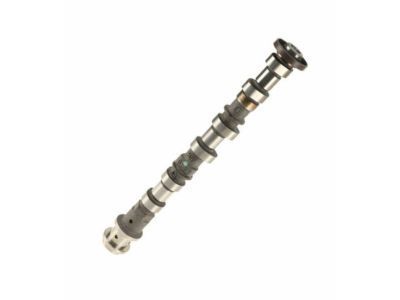
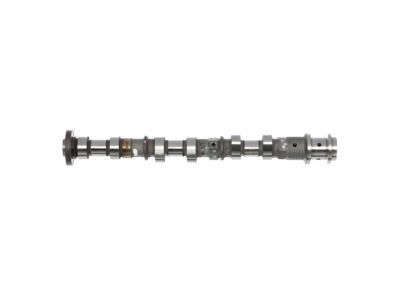
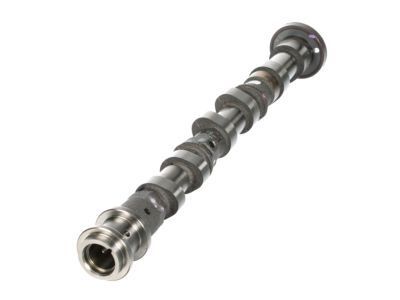
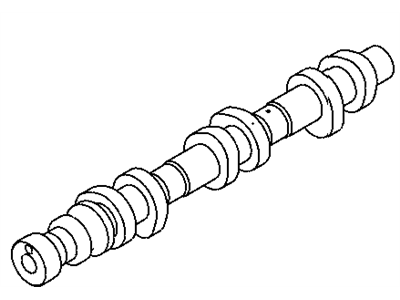
Jeep Grand Cherokee Engine Intake Camshaft
Part Number: 5184379AF$353.10 MSRP: $541.00You Save: $187.90 (35%)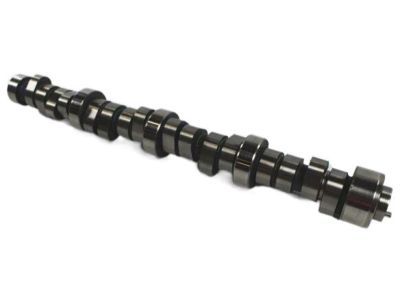
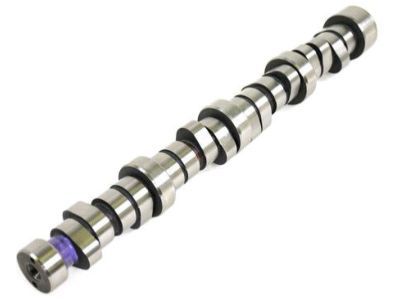
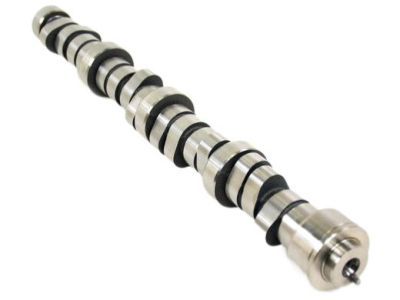
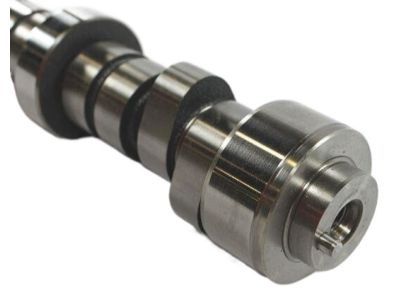
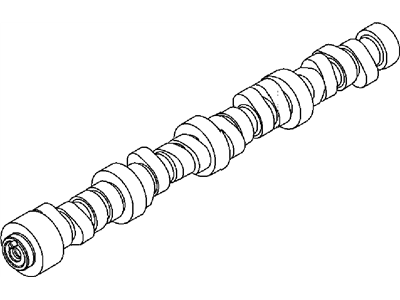
Jeep Grand Cherokee Engine Camshaft
Part Number: 5037379AD$390.40 MSRP: $594.00You Save: $203.60 (35%)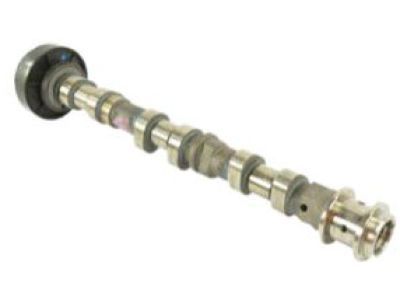
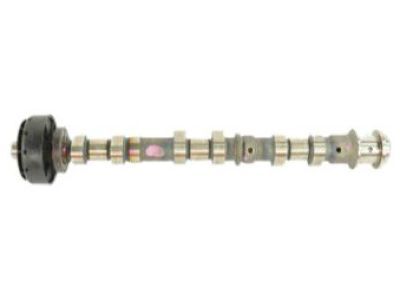
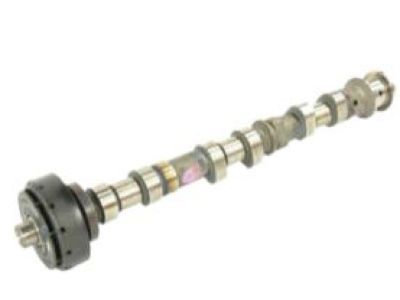
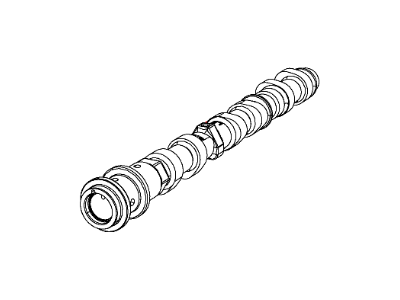
Jeep Grand Cherokee Engine Exhaust Camshaft
Part Number: 68169839AB$241.90 MSRP: $517.00You Save: $275.10 (54%)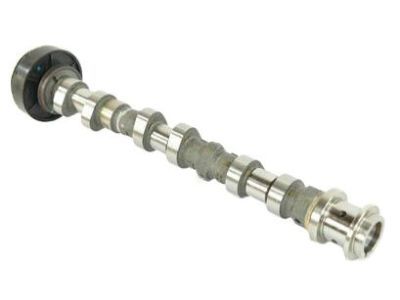
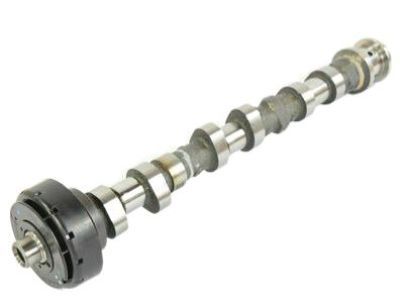
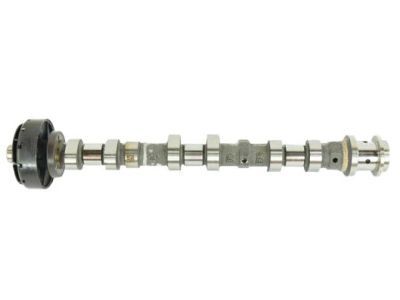
Jeep Grand Cherokee Exhaust Cam Right Head
Part Number: 5048030AB$177.75 MSRP: $268.00You Save: $90.25 (34%)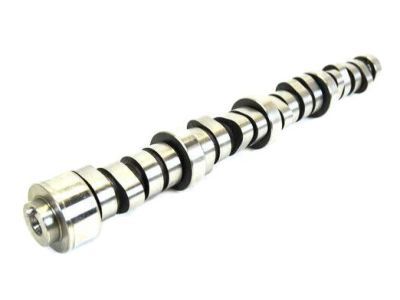
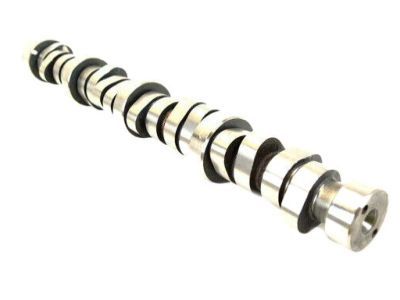
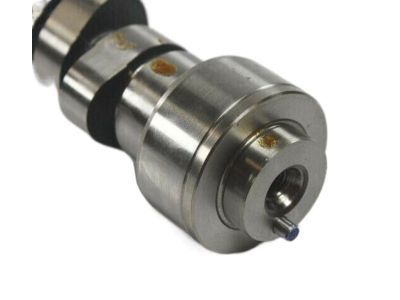
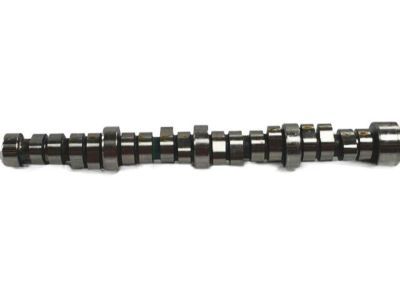
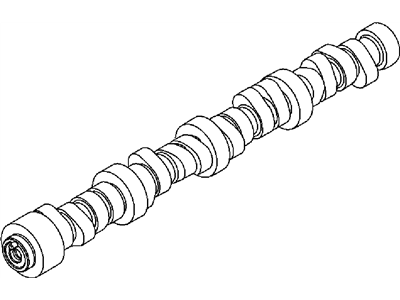
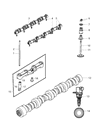
Jeep Grand Cherokee Engine Camshaft
Part Number: 53021731AD$584.10 MSRP: $883.55You Save: $299.45 (34%)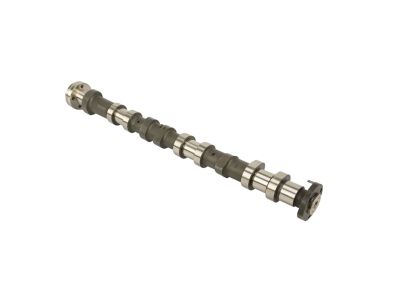
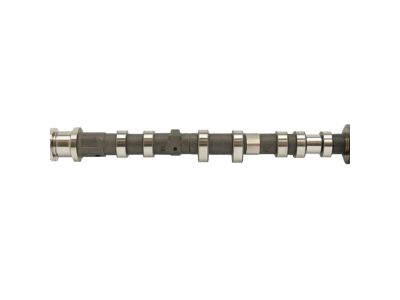
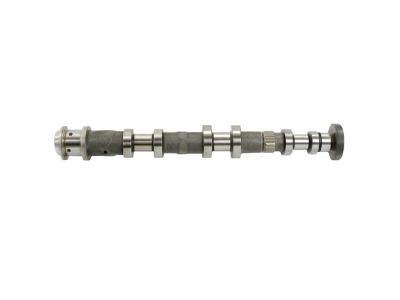
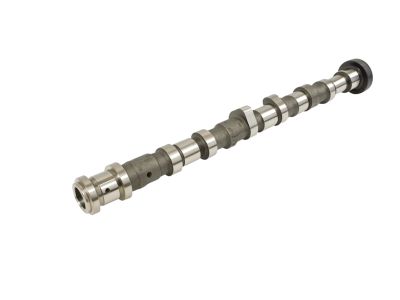
Jeep Grand Cherokee Engine Exhaust Camshaft
Part Number: 5048029AB$160.88 MSRP: $241.00You Save: $80.12 (34%)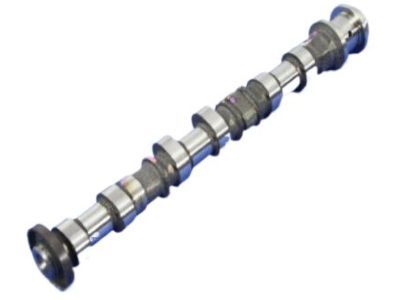
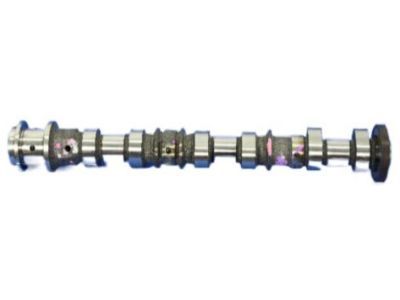
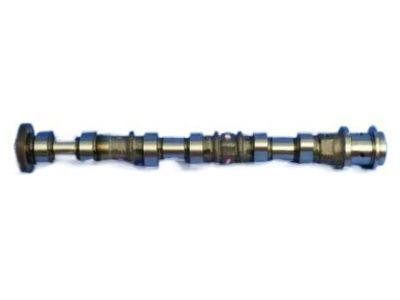
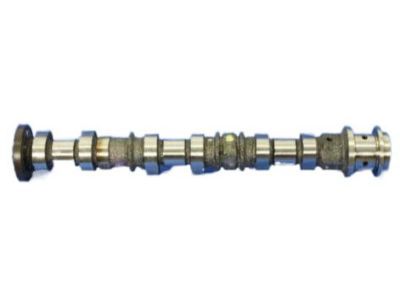
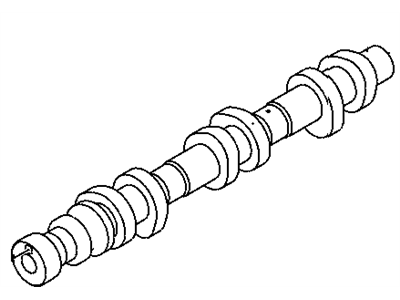
Jeep Grand Cherokee Engine Intake Camshaft
Part Number: 5184380AE$353.10 MSRP: $541.00You Save: $187.90 (35%)
Jeep Grand Cherokee Intake Camshaft
Part Number: 68661147AA$430.10 MSRP: $652.00You Save: $221.90 (35%)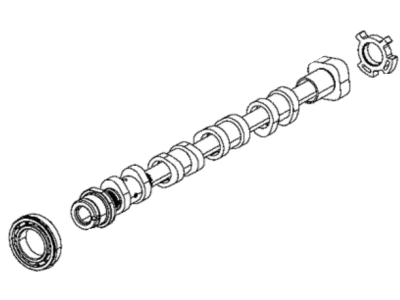
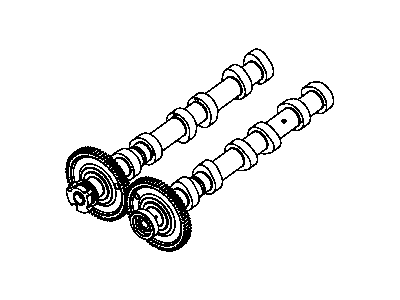
Jeep Grand Cherokee Engine Intake Camshaft Left Side
Part Number: 68147408AA$403.70 MSRP: $617.00You Save: $213.30 (35%)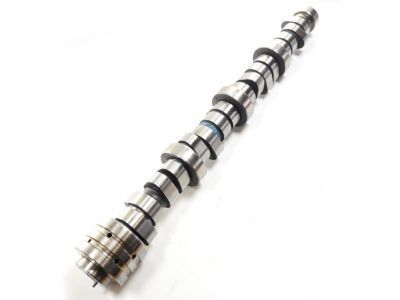
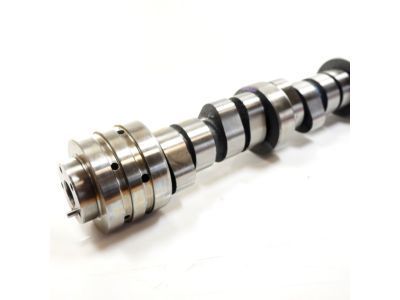
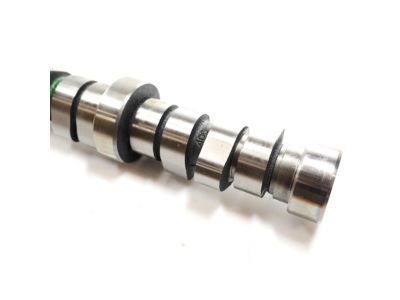
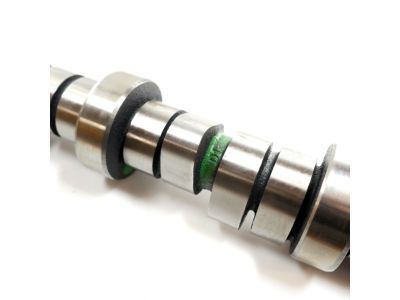
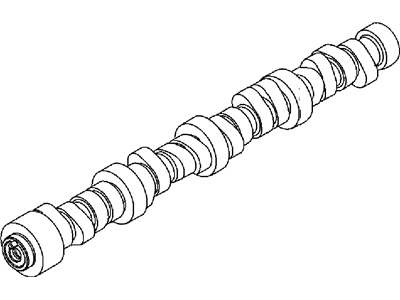
Jeep Grand Cherokee Engine Camshaft
Part Number: 53022372AA$462.84 MSRP: $681.18You Save: $218.34 (33%)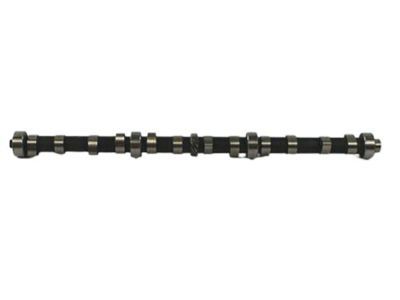
| Page 1 of 4 |Next >
1-20 of 61 Results
Jeep Grand Cherokee Camshaft
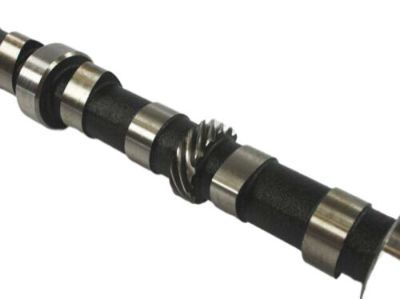
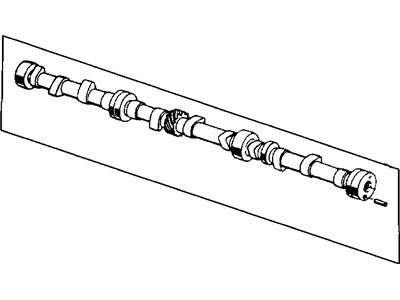
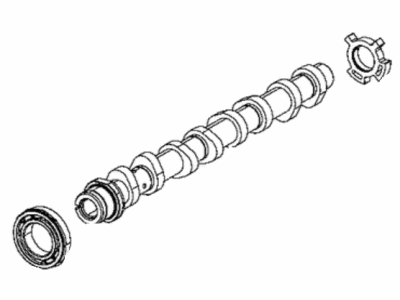
Camshaft in the Jeep Grand Cherokee automobiles is a component that helps in operation of intake and exhaust valves of automobiles through which air fuel mixture is admitted and exhaust gases expelled. It is made of iron or steel, Mechanisms which the camshaft works with consist of Over Head Valve (OHV), Single Over Head Cam (SOHC), and Double Over Head Cam (DOHC) valves, the functioning of each impacting on the engine performance. Jeep Grand Cherokee may have more variations in terms of the camshafts and the better versions will have more lift and longer duration on the airflow for an increase in power. Timing of camshaft with the crankshaft is necessary to coordinate the operation of the valve with that of piston, which determines efficiency of the car's engine. Also, some features such as LSA - Lobe Separation Angle that defines configuration, can have impact on torque and idle quality and enable fine tuning for certain kind of driving. All things considered, the camshaft is crucial to the performance of the Jeep Grand Cherokee's engine.
Looking for affordable and high-quality auto parts? Then you have already arrived at the proper online shop. We offer all Jeep Grand Cherokee Camshaft at great affordable prices. Moreover, all genuine Jeep Grand Cherokee Camshaft come with a manufacturer's warranty. In the long run, you would realize you have saved a lot of trouble and money with OEM parts from here.
Jeep Grand Cherokee Camshaft Parts Questions & Experts Answers
- Q:How to replace the camshafts, timing chains, and phasers in 3.6L V6 engine on Jeep Grand Cherokee?A:Care is needed here, due to the sophisticated timing system; the wrong move often results in terrible damage to the engine; only professionals should try this and if you are in doubt, do contact a professional. Quite as importantly, any work accomplished should be checked again before the engine is run. To make sure that the magnetic timing wheels on the camshafts do not accidentally encounter magnets or magnetic fields, the valve covers must be taken off; in this case, the wheels must be replaced. Each of the camshafts' timing chain can be easily removed when using the right tools; however, it is only possible to do it if, at least, the timing chain cover and the chains are removed. First remove the negative battery terminal and then drain the engine oil and coolant, after that remove the drive belt, air filter housing, resonator and last but the intake manifold. Pull all wires and vacuum hoses off the cylinder heads, color-code them to install them back again, and then take off the ignition coils along with the spark plugs; color-code the coils too. Once you have lifted the valve covers turn the crankshaft until the #1 piston is on the exhaust stroke and the camshaft phaser marks line up. Locate the camshaft phasers to the timing chains for future installation then using a specific tool to hold the tensioner the camshaft phaser lock tool is inserted. The oil control valves need to be loosened and then detached from the camshafts, the intake and exhaust phaser needs to be unscrewed from the camshafts with the phaser lock still engaged. Turn both camshafts anti-clockwise until they are in a position that is believed to be mid-way, remove the sheer bolts and the caps and lift the camshafts upwards. Use and remove the rocker arms and hydraulic lash adjusters, clean the camshaft bearing surface and lobes, if there is any damage MARK 10 and replace all defective parts. For build to be installed, the hydraulic lash adjusters should be dipped in clean engine oil, while both the rocker arm contact points should be greased appropriately; the installation of camshafts on the cylinder head should also be done at the right angle. Move to the next step and tighten the bearing caps, check their alignment and then fit the phasers and oil control valves; all the assemblies should be rightly tightened. Last and final step is to turn the engine for alignment marks and other reassembly and installation process, which will be in the reverse order or removal.
Related Jeep Grand Cherokee Parts
 Jeep Grand Cherokee Cylinder Head Gasket
 Jeep Grand Cherokee Rocker Arm
 Jeep Grand Cherokee Timing Cover
 Jeep Grand Cherokee Crankshaft Pulley
 Jeep Grand Cherokee Crankshaft
 Jeep Grand Cherokee Spool Valve
 Jeep Grand Cherokee Cylinder Head
 Jeep Grand Cherokee Cam Gear
 Jeep Grand Cherokee Cylinder Head Bolts
 Jeep Grand Cherokee Rocker Arm Pivot
Browse by Year
2024 Camshaft 2023 Camshaft 2022 Camshaft 2021 Camshaft 2020 Camshaft 2019 Camshaft 2018 Camshaft 2017 Camshaft 2016 Camshaft 2015 Camshaft 2014 Camshaft 2013 Camshaft 2012 Camshaft 2011 Camshaft 2010 Camshaft 2009 Camshaft 2008 Camshaft 2007 Camshaft 2006 Camshaft 2005 Camshaft 2004 Camshaft 2003 Camshaft 2002 Camshaft 2001 Camshaft 2000 Camshaft 1999 Camshaft 1998 Camshaft 1997 Camshaft 1996 Camshaft 1995 Camshaft 1994 Camshaft