My Garage
My Account
Cart
Genuine Jeep Patriot Piston
Engine Pistons- Select Vehicle by Model
- Select Vehicle by VIN
Select Vehicle by Model
orMake
Model
Year
Select Vehicle by VIN
For the most accurate results, select vehicle by your VIN (Vehicle Identification Number).
6 Pistons found
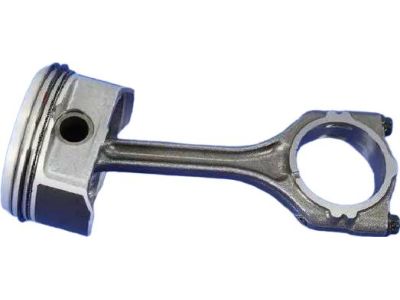
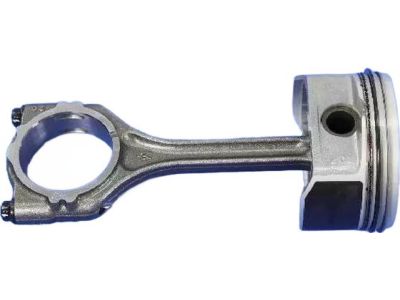
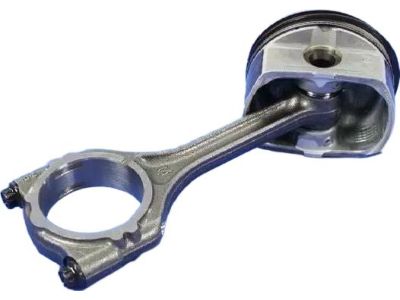
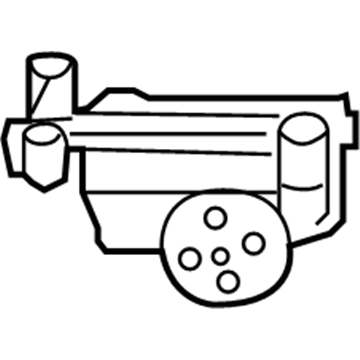
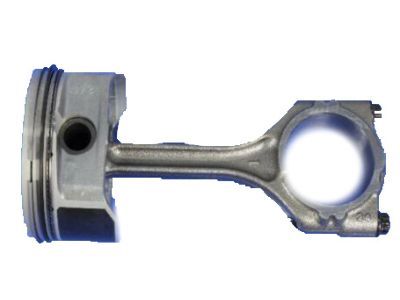
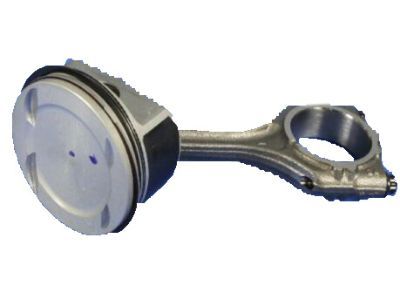
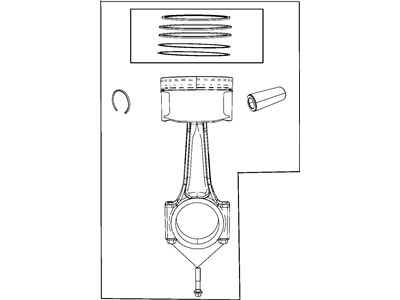
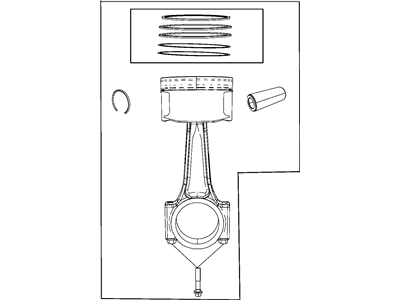
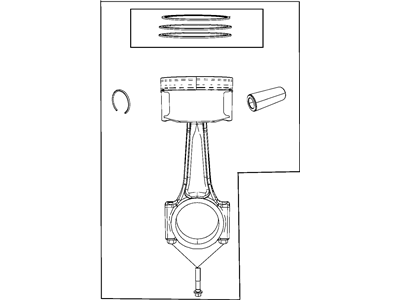
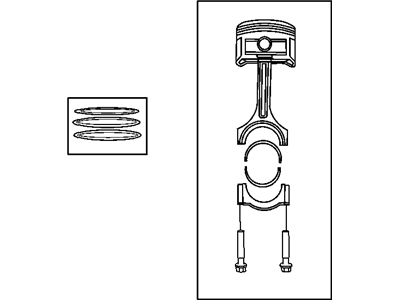
Jeep Patriot Piston
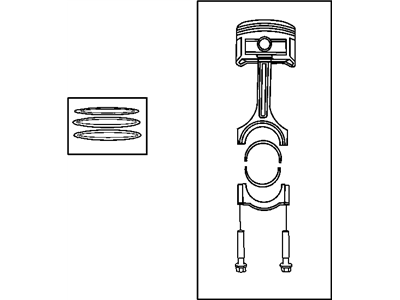
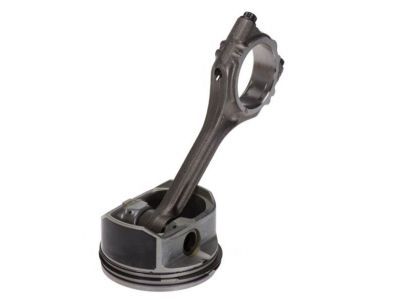
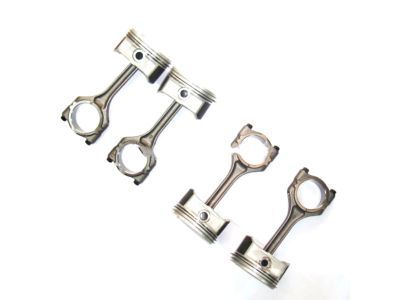
The Piston in Jeep Patriot vehicles is an integral system used in the internal combustion engine, which manipulates combustion power to the energy used by a vehicle. This Jeep Patriot Piston moved force from expanding gases to crankshaft, which enable it to enhance efficiency of the car. Usually made of aluminum alloys due to their high strength and low density, these pistons may contain some designs such as cooling ducts for control of pressure and heat. A range of piston types with the Jeep Patriot models has been used over the years such as the trunk pistons that work to support side forces and are fitted with oil rings and the slipper pistons that provide high speed efficiency. All of them has their uses and design changes from one to another are for improved efficiency and ruggedness. In fact, the Jeep Patriot Piston design provides a good wireframe based on light weight but muscular muscle needed to power the vehicle in different terrains.
Looking for affordable and high-quality auto parts? Then you have already arrived at the proper online shop. We offer all Jeep Patriot Piston at great affordable prices. Moreover, all genuine Jeep Patriot Piston come with a manufacturer's warranty. In the long run, you would realize you have saved a lot of trouble and money with OEM parts from here.
Jeep Patriot Piston Parts Questions & Experts Answers
- Q:What steps must be taken before removing the piston and connecting rod assemblies on Jeep Patriot?A:Before you can pull the piston and connecting rod assemblies you have to take off the cylinder head, oil pan, and timing chain cover. Run a fingernail at about 1/4 inch down along the length of each cylinder to feel for any ridge at the top or at the limit of ring travel; if ridge by carbon or ordinary wear, it must be scrapped by a ridge reamer since it can cause a piston to break. Turn the engine so the Crankshaft is in the upwards position, remove the balance shaft module, and the mounting bolts of the ladder frame to pull out the ladder frame from the engine block after eliminating the cylinder ridges. Before unbolting the main bearing caps and connecting rods check the connecting rod end play with feeler gauges; within the limit or not, it might require a new connecting rod. Identify the connecting rods and caps, turn the cap bolts gradually counterclockwise and remove the connecting rod cap and the bearing insert without allowing the insert to fall. Guide the connecting rod/piston assembly out out of the top of the engine with your bare hands or a wooden or plastic hammer handle If it is still difficult force the connecting rod/piston out and do the same for the other cylinders. Install and replace the connecting rod caps and bearing inserts in the proper connecting rods; best to leave the old inserts in the rods to prevent damaging them in the process. When fitting piston rings see that end gaps are correct and the side clearance for piston rings is also correct. Position all the pistons/connecting rods new rings, place the top ring into the 1 cylinder and with the feeler gauges, set the end gap. Begin by installing the oil control ring and thereafter the middle and the top rings but in the correct position. Cylinder bores must be cleaned and the top edge of each cylinder bore must be chamfered before installing the piston/connecting rod assemblies, and crankshaft must be in place. Take off the cap of the number one connecting rod, scrub the bearing surfaces, install the new upper bearing insert dry. Spacing of the piston ring gaps should now be at 90 degrees; lubricate the piston and rings and then use the piston ring compressor in the insertion of the piston into the cylinder. Inspect the connecting rod bearing oil clearance by fitting Plastigage , the surfaces should be clean and ought not to have any oil on them. If the clearance is not within the tolerance level, then bear in mind to recheck the bearing size and journal diameter. Remove any Plastigage material left on the bearing surfaces, lubricate the bearing surfaces with fresh grease or assembly lube and replace the connecting rod cap bolts and thread them to the recommended torque value. Do the same thing for the rest of the pistons and connecting rods paying attention to the cleanliness and assembly of each cylinder. Finally, the oil pump and flywheel are installed and the crankshaft is rotated to look for binding: the connecting rod endplay is also checked again, and compared to specifications.