
My Garage
My Account
Cart
Genuine Jeep Shock Absorber
Suspension Shock Absorber- Select Vehicle by Model
- Select Vehicle by VIN
Select Vehicle by Model
orMake
Model
Year
Select Vehicle by VIN
For the most accurate results, select vehicle by your VIN (Vehicle Identification Number).
537 Shock Absorbers found
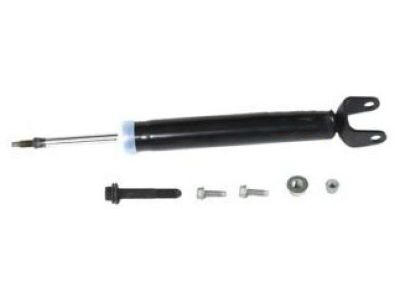
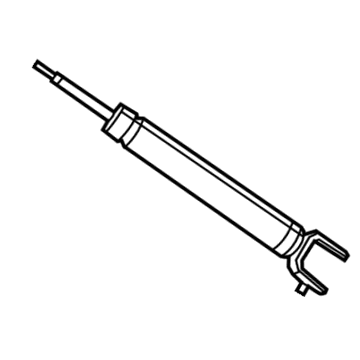
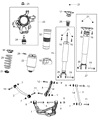 Product Specifications
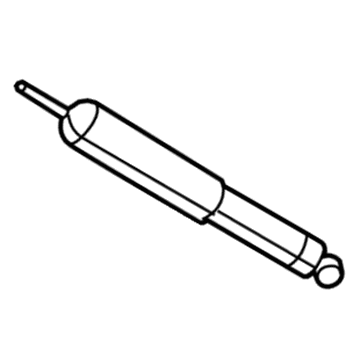
- Other Name: Shock ABSORBER Kit Suspension Rear; Shock, Shock Absorber
- Replaces: 68069675AC
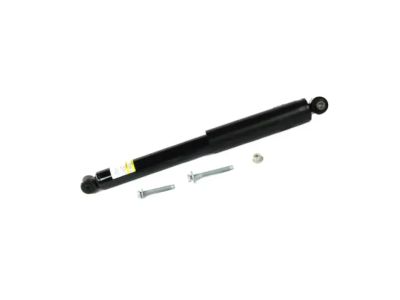
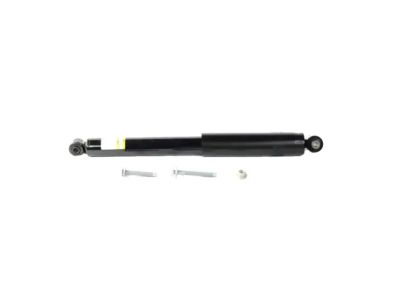
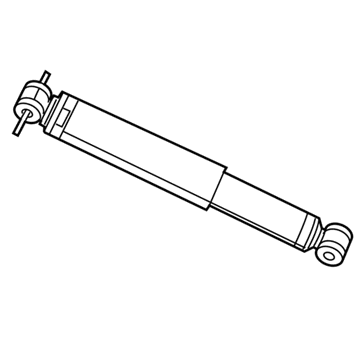
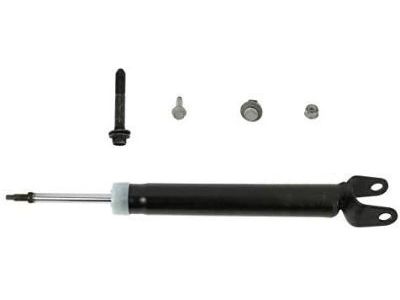
 Product Specifications
- Other Name: Shock, Shock Absorber
- Replaces: 68382855AA, 68527789AA
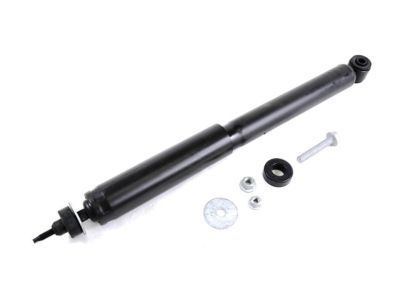
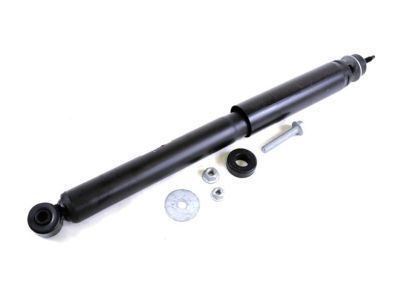
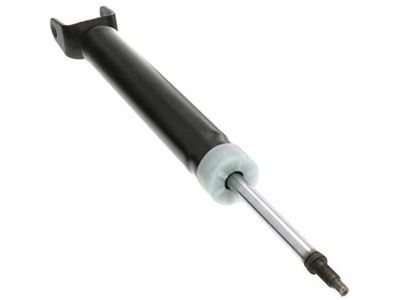
 Product Specifications
- Other Name: Shock ABSORBER Kit Suspension Front; Shock, Shock Absorber
- Replaces: 68047812AA, 68047812AC, 68029954AB, 68029955AB, 68047812AB, 68029954AC, 68029955AA, 68029955AC, 68029954AA, 68029954AD
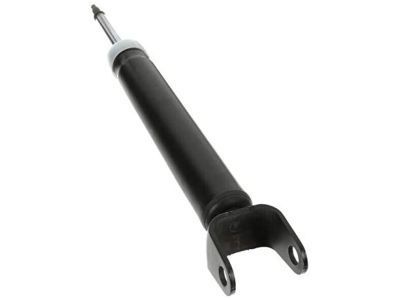
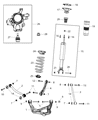 Product Specifications
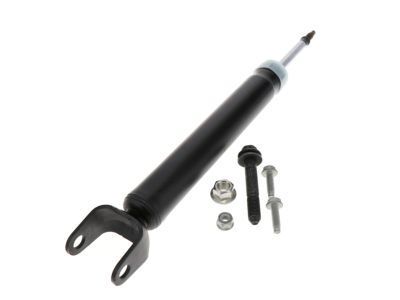
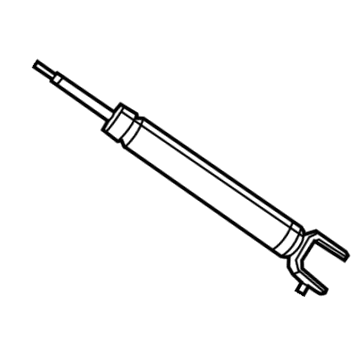
- Other Name: Shock ABSORBER Kit Suspension Rear; Shock, Shock Absorber
- Replaces: 68069671AC
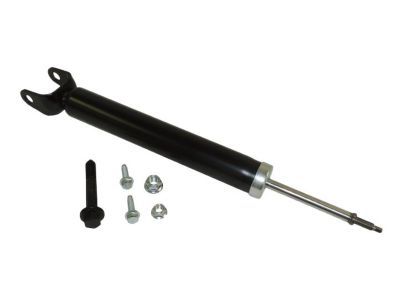
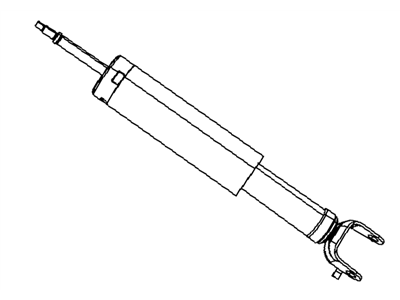
 Product Specifications
- Other Name: Shock ABSORBER Kit Suspension Rear
- Replaced by: 68069671AE
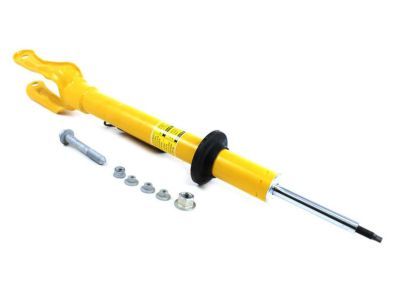
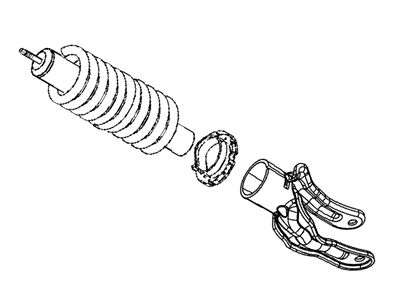
 Product Specifications
- Other Name: Shock ABSORBER Kit Suspension Front
- Replaced by: 68139497AF
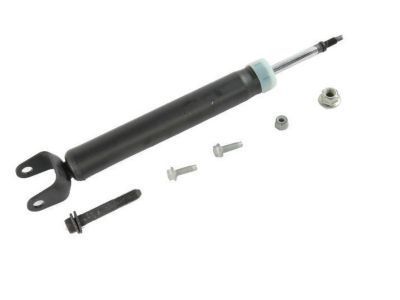
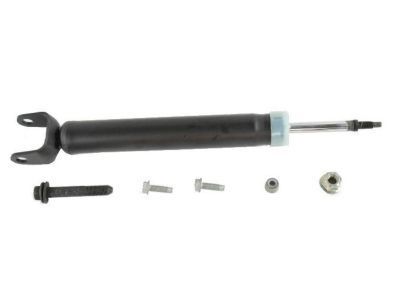
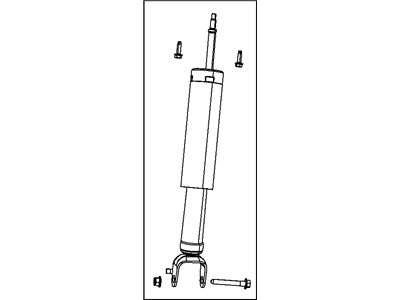
 Product Specifications
- Other Name: Shock ABSORBER Kit Suspension Rear
- Replaces: 68234048AA
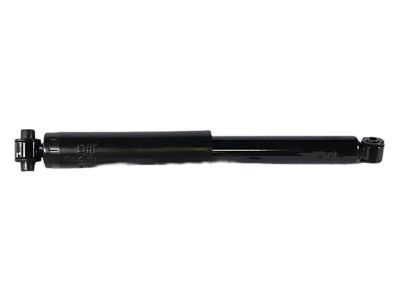
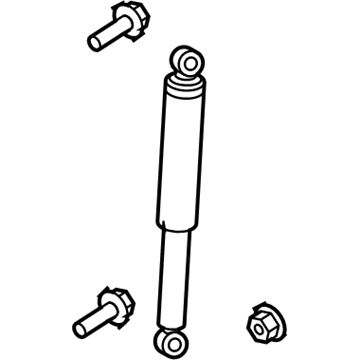
 Product Specifications
- Other Name: ABSBR Pkg-Suspension
- Replaced by: 68527781AB
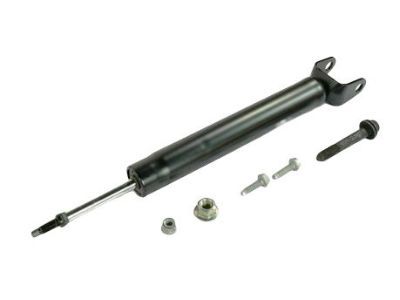
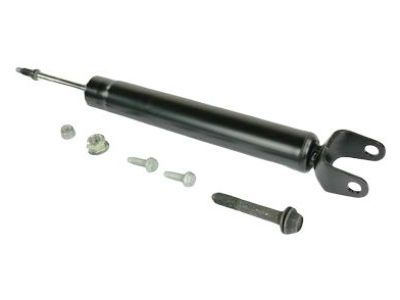
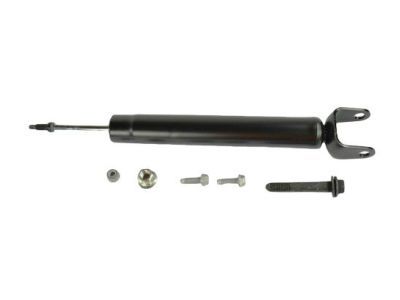 Product Specifications
- Other Name: Shock ABSORBER Kit Suspension Rear; Shock
- Replaces: 68234050AA
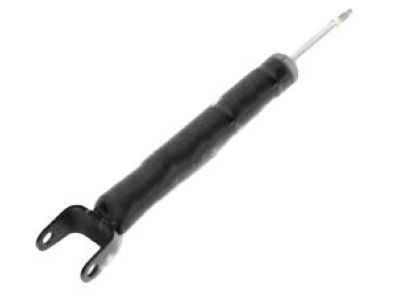
 Product Specifications
- Other Name: Shock ABSORBER Kit Suspension Rear; Shock Absorber
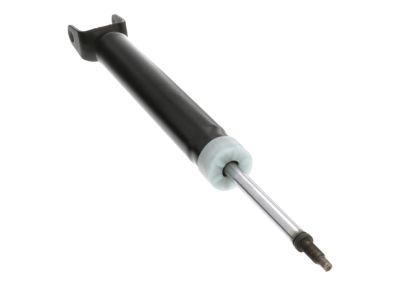
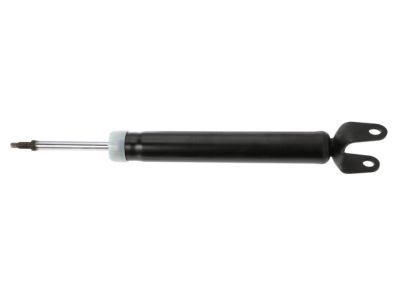
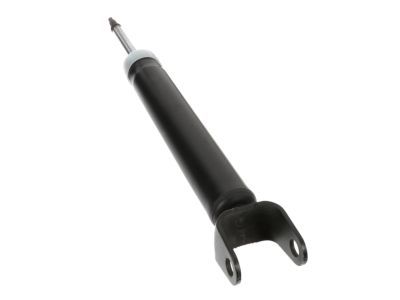
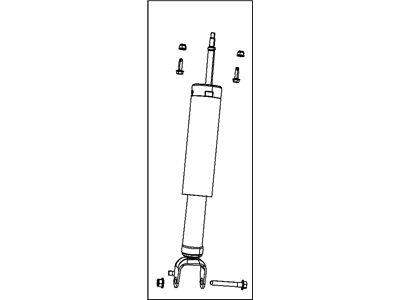
 Product Specifications
- Other Name: Shock ABSORBER Kit Suspension Rear
- Replaced by: 68069675AD
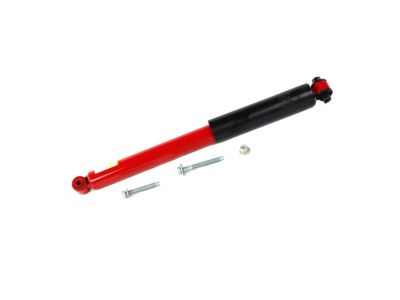
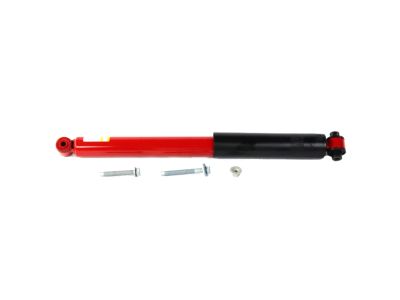
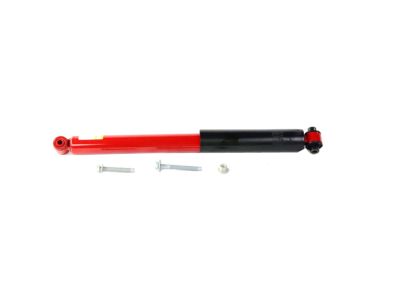
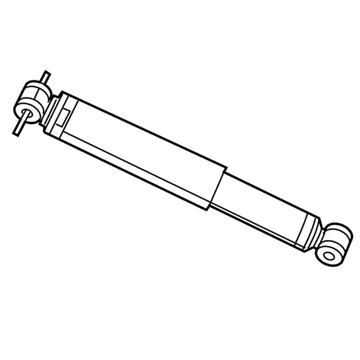
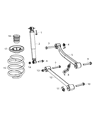
Jeep Suspension Absorber Package
Part Number: 68382853AA$196.88 MSRP: $302.00You Save: $105.12 (35%)Product Specifications- Other Name: ABSBR Pkg-Suspension
- Replaced by: 68527797AB
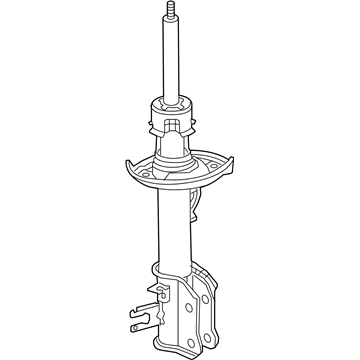
 Product Specifications
- Other Name: STRUT-Front Suspension; Strut
- Position: Driver Side
- Replaces: 68462621AA, 68270557AA, 68440034AA, 68257961AA, 68304334AA, 68268685AA
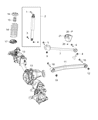 Product Specifications
- Other Name: ABSBR Kit-Suspension
- Replaced by: 68383632AC
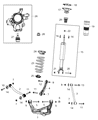 Product Specifications
- Other Name: ABSORBER-Suspension; Shock, Shock Absorber
- Position: Driver Side
- Replaces: 68298972AA, 68298972AB, 68298972AC, 68298972AD
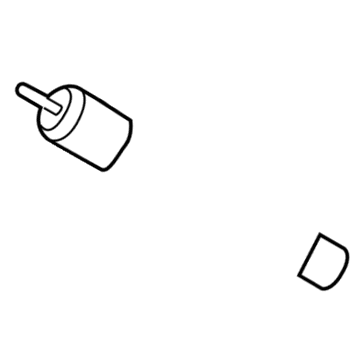
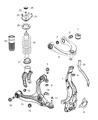 Product Specifications
- Other Name: ABSORBER-Suspension; Shock Absorber
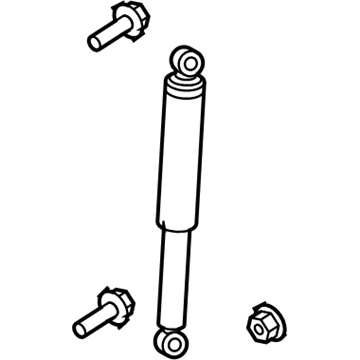 Product Specifications
- Other Name: ABSBR Pkg-Suspension; Shock, Shock Absorber
- Product Specifications
- Other Name: Shock
- Replaces: 68569369AA, 68569369AB
- Product Specifications
- Other Name: ABSORBER-Suspension; Shock, Shock Absorber
- Position: Passenger Side
- Replaces: 68298926AC, 68298926AA, 68298926AB, 68298926AD
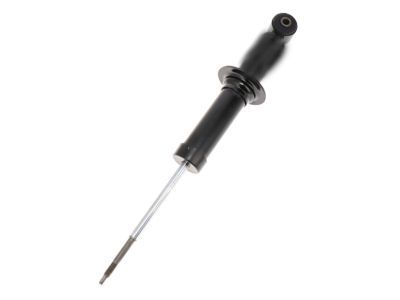
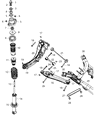 Product Specifications
- Other Name: Shock ABSORBER Suspension Rear; Shock, Shock Absorber, Strut
| Page 1 of 27 |Next >
1-20 of 537 Results
Jeep Shock Absorber
Welcome to your ultimate destination for affordable OEM Jeep Shock Absorbers. Here at our website, we not only provide genuine Jeep Shock Absorbers at unbeatable prices, but also guarantee their quality with the manufacturer's warranty. Coupled with our dedicated customer service and swift delivery, we're confident you won't find a better deal anywhere else.
Jeep Shock Absorber Parts Questions & Experts Answers
- Q:How to replace the rear shock absorbers on Jeep Cherokee?A:To remove the rear shock absorber, raise and secure the vehicle's rear on jack stands. Next, relieve the spring pressure. Remove the lower retaining nut and washer from the shock absorber on the axle housing. Take off the two upper mounting bolts securing the shock absorber to the frame and slide it off the lower stud. Reverse the procedure to install.
- Q:How to replace the shock absorber and coil spring assembly on Jeep Grand Cherokee?A:Models equipped with a shock absorber and coil spring assembly allow for individual replacement of shocks or springs, but disassembly by a qualified repair shop with the proper equipment is necessary, which can significantly increase project costs. For 2010 and earlier models, begin by removing the air box cover, air intake hose, and Power Distribution Center bracket nuts. For the left front shock, shift the Power Distribution Center aside to access the upper shock mount nuts; for the right front shock, move the coolant reservoir. Remove the four upper mounting nuts, loosen the front wheel lug nuts, raise the vehicle securely on jackstands, and take off the front wheels. Detach the brake caliper adapter bolts and support the adapter and caliper before removing the rotor. Separate the upper ball joint from the knuckle by removing its nut, and then take out the lower clevis bolt and lower stabilizer bolt at the lower control arm. For 2011 and later models, remove any wiring harness retaining clips around the upper shock mounting studs and the three upper mounting fasteners. Again, loosen the front wheel lug nuts, raise the vehicle, and remove the front wheels. It may be easier to access the lower shock assembly if the front of the wheel/brake rotor is turned inward. Remove the wheel speed sensor and any wire retainers, then position it aside. Safely support the brake caliper out of the way, raise the outer end of the lower control arm slightly to simulate normal ride height, and separate the upper ball joint from the knuckle. Remove the lower stabilizer link nut and the lower shock absorber mounting fastener. On 4WD models, remove the front drive axles. For models with an Active Dampening System canister on the shock absorber, disconnect the electrical connector before removing the shock absorber, noting the canister's installation for reassembly. Remove the shock absorber and inspect it for leaks, dents, cracks, and other damage, as well as the coil spring for chips and cracks. If any components are worn or damaged, have the unit serviced or replaced. Installation follows the reverse order of removal, ensuring fasteners are tightened to the specified torque, with the shock absorber lower mounting fasteners tightened at normal ride height. Finally, tighten the wheel lug nuts to the specified torque.
- Q:How to remove and install the rear shock absorbers on Jeep Wrangler?A:Raise the rear of the vehicle and support it securely on jackstands. Support the rear axle assembly with a floor jack placed under the differential, raising it just enough to relieve the spring pressure off the shock absorbers, which limit the down travel of the suspension. Remove the lower retaining nut, washers, and bolt from the shock absorber, then take off the upper mounting nut and washer, sliding the upper shock eye off the stud for models from 1987 to 1995, while for 2007 and later models, the top of the rear shock is secured with two bolts. Installation follows the reverse of the removal procedure, ensuring a washer is placed on each side of the lower shock eye during installation for models from 1987 to 1995, and tightening the nuts to the specified torque.
Related Jeep Parts


Browse by Model
Cherokee Shock Absorber Commander Shock Absorber Compass Shock Absorber Gladiator Shock Absorber Grand Cherokee L Shock Absorber Grand Cherokee Shock Absorber Grand Cherokee WK Shock Absorber Grand Wagoneer L Shock Absorber Grand Wagoneer Shock Absorber J10 Shock Absorber J20 Shock Absorber Liberty Shock Absorber Patriot Shock Absorber Renegade Shock Absorber Wagoneer L Shock Absorber Wagoneer Shock Absorber Wrangler Shock Absorber