
My Garage
My Account
Cart
Genuine Dodge Control Arm
Suspension Arm- Select Vehicle by Model
- Select Vehicle by VIN
Select Vehicle by Model
orMake
Model
Year
Select Vehicle by VIN
For the most accurate results, select vehicle by your VIN (Vehicle Identification Number).
458 Control Arms found
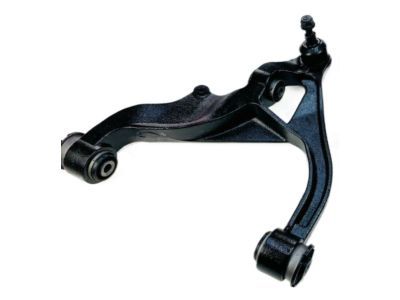
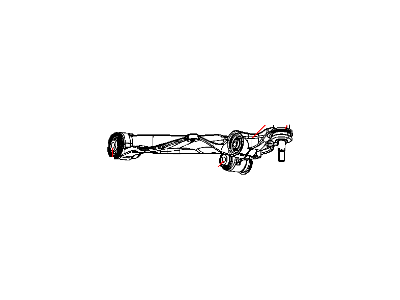
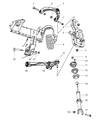
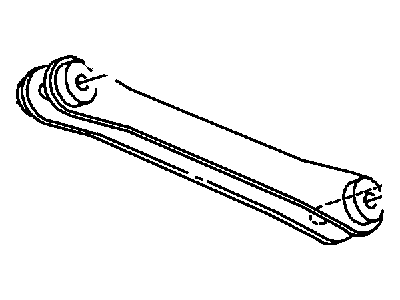
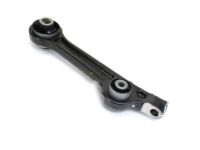
Dodge Suspension Control Arm Front
Part Number: 55398376AB$478.50 MSRP: $731.00You Save: $252.50 (35%)Product Specifications- Other Name: Arm Lower Control Front
- Position: Front
- Replaced by: 68298346AB
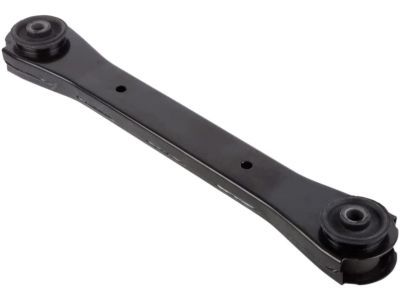
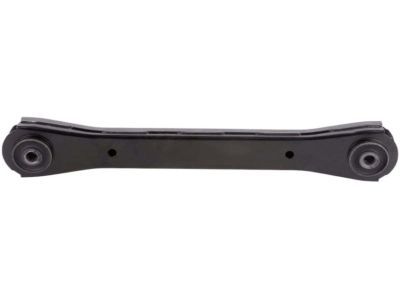
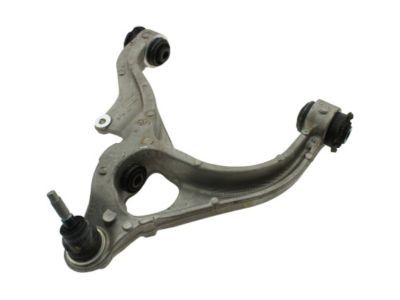
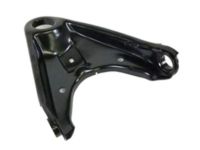
Dodge Suspension Control Arm Front Lower
Part Number: 52122411AA$147.38 MSRP: $219.97You Save: $72.59 (33%)Product Specifications- Other Name: Arm-Lower Control
- Position: Front Lower
- Replaced by: 68078374AA
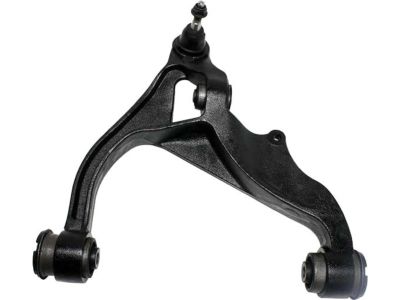
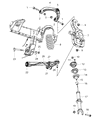
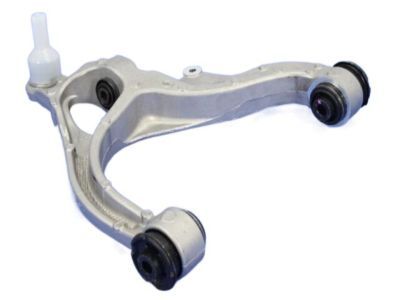
Dodge Control Arm Passenger Side Front Lower
Part Number: 55366438AE$478.50 MSRP: $731.00You Save: $252.50 (35%)Product Specifications- Other Name: Arm Lower Control Front Complete
- Replaced by: 68298346AB
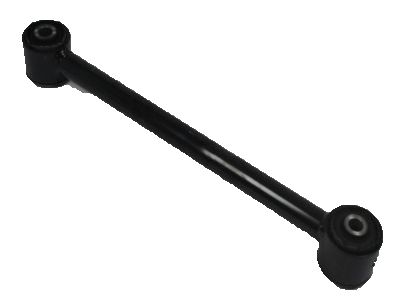
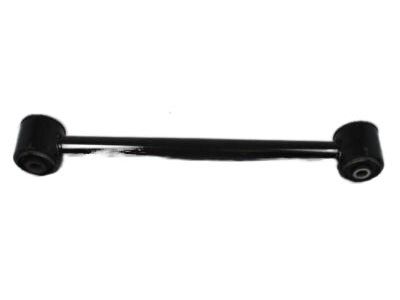
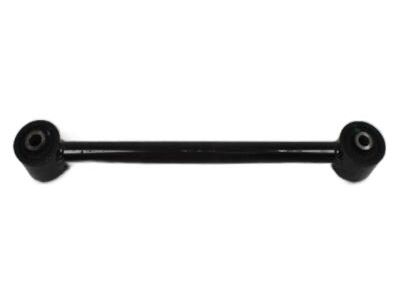
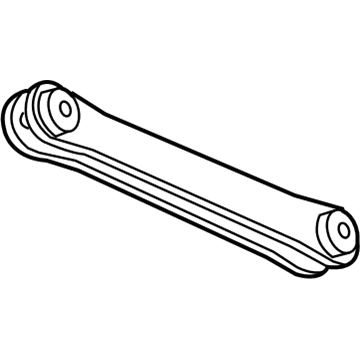
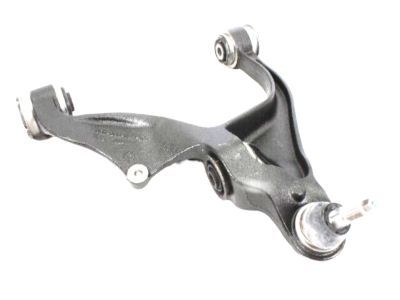
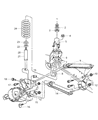
 Product Specifications
- Other Name: Arm-Lower Control; Lower Control Arm
- Position: Front Lower
- Replaces: 4670383AA
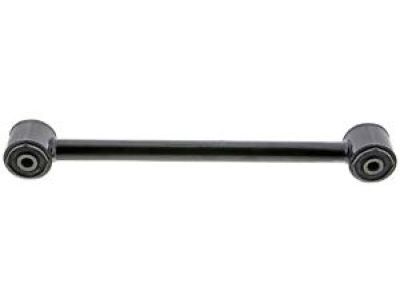
 Product Specifications
- Other Name: Arm-Lower Control
- Replaced by: 68078374AA
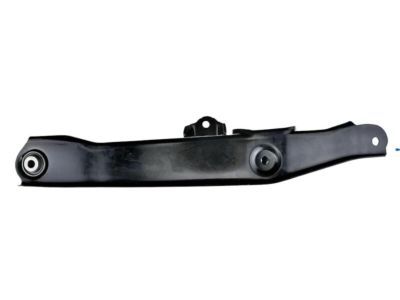
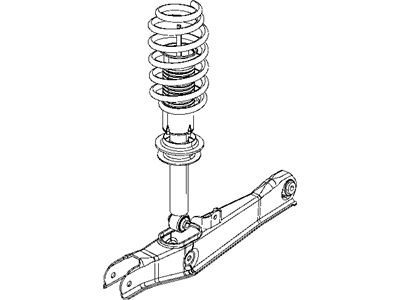
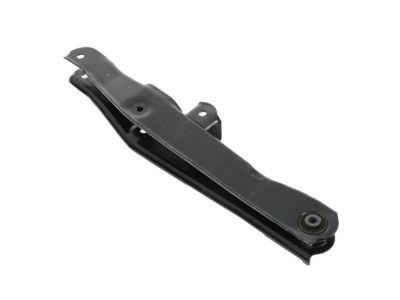
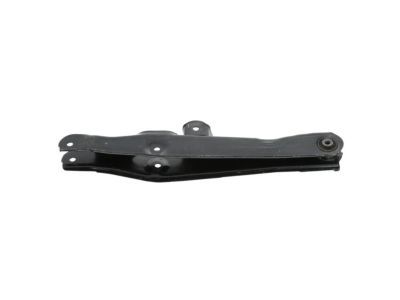
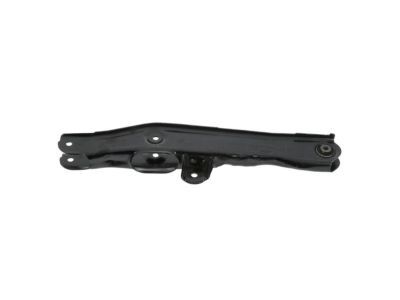
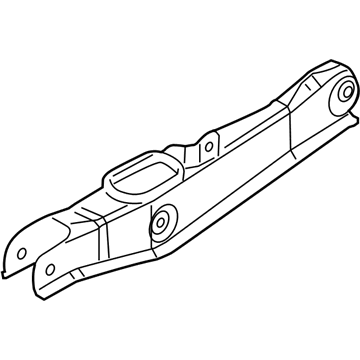
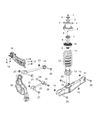
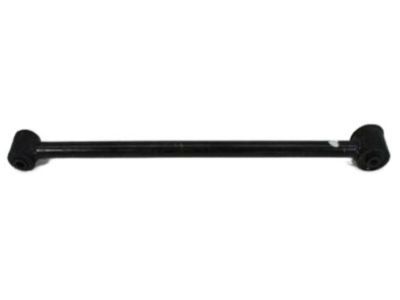
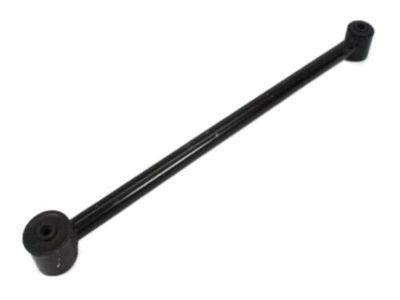
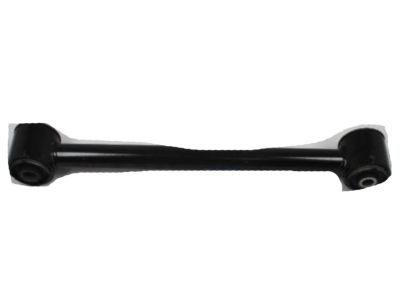
Dodge Suspension Control Arm Rear Lower
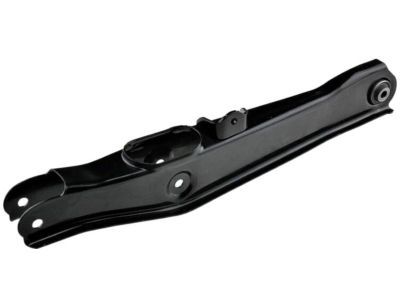
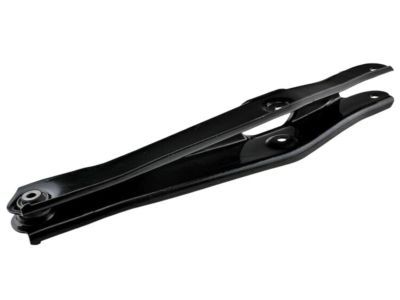
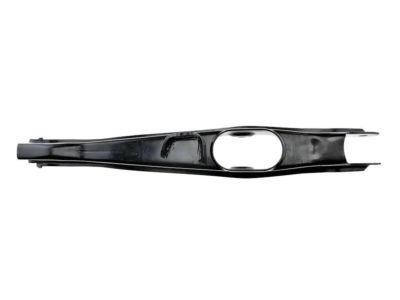
Part Number: 4766950AB$71.86 MSRP: $159.49You Save: $87.63 (55%)Product Specifications- Other Name: Arm-Lower Control
- Position: Rear Lower
- Replaced by: 4766950AC
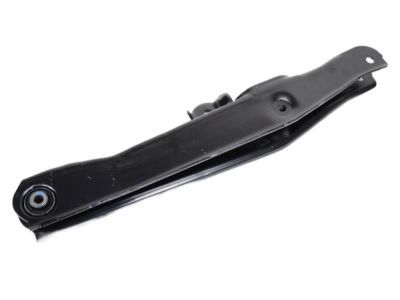
 Product Specifications
- Other Name: Arm-Lower Control; Lower Control Arm
- Position: Rear Lower
- Replaces: 4766950AD, 4766950AB, 4766950AA
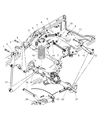 Product Specifications
- Other Name: Arm-Lower Control
- Replaced by: 52113275AD
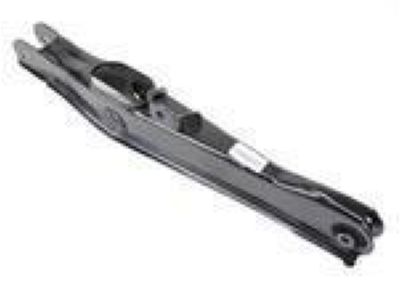
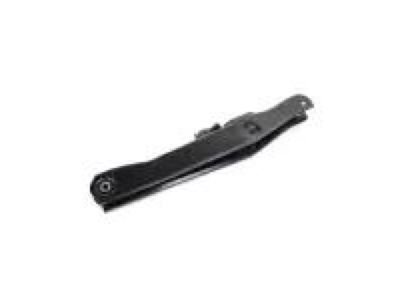
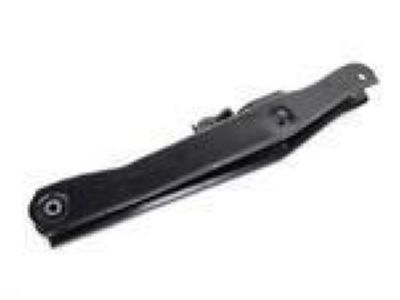
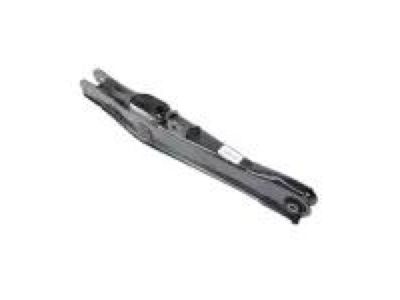
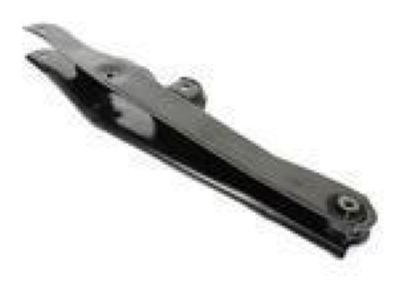
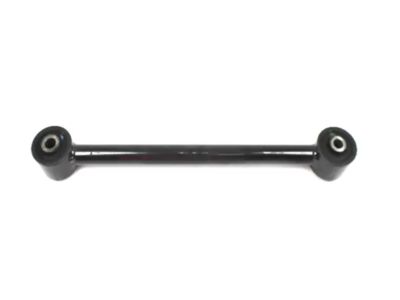
Dodge Suspension Control Arm Rear Lower
Part Number: 4766950AD$71.86 MSRP: $159.49You Save: $87.63 (55%)Product Specifications- Other Name: Arm-Lower Control
- Position: Rear Lower
- Replaced by: 4766950AC
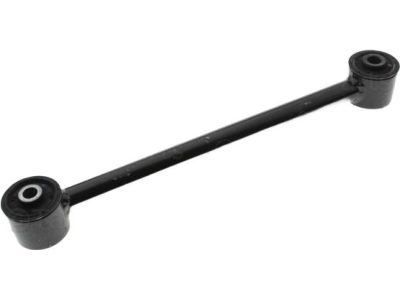
 Product Specifications
- Other Name: Arm-Lower Control
- Replaced by: 4670383AB
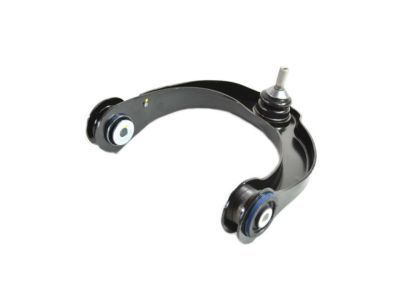
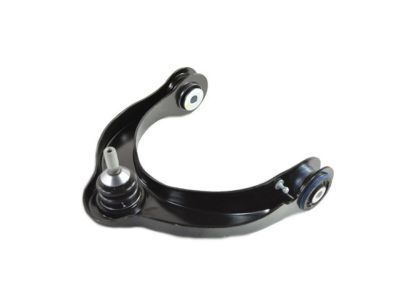
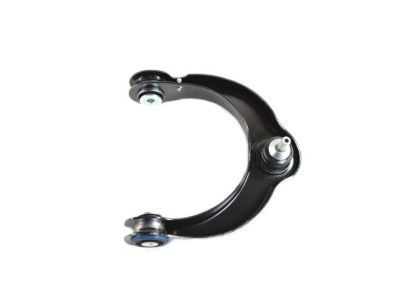
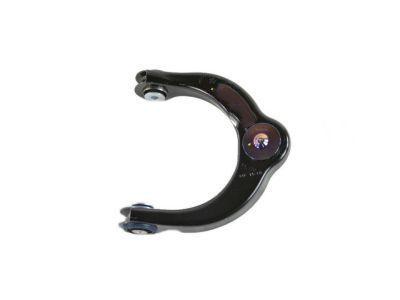
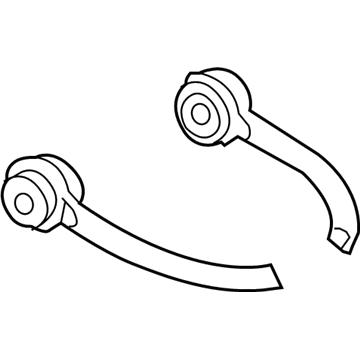
 Product Specifications
- Other Name: Arm Upper Control Front; Upper Control Arm
- Position: Driver Side
- Replaces: 68224239AB
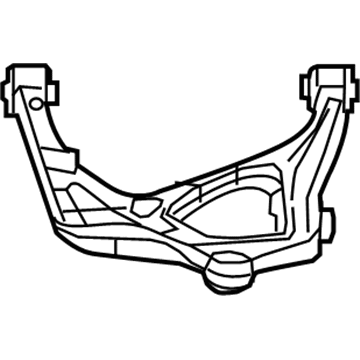
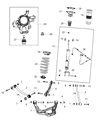 Product Specifications
- Other Name: Arm-Lower Control; Lower Control Arm
- Position: Passenger Side
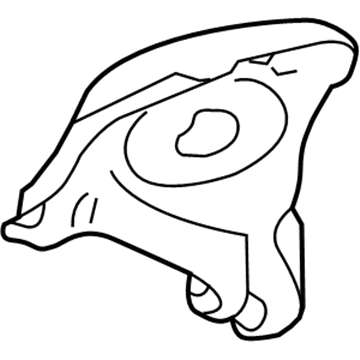
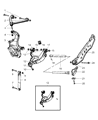 Product Specifications
- Other Name: Arm Lower Control Front; Lower Control Arm
- Position: Driver Side
- Replaces: 52855529AA, 52855529AB
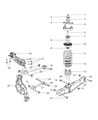
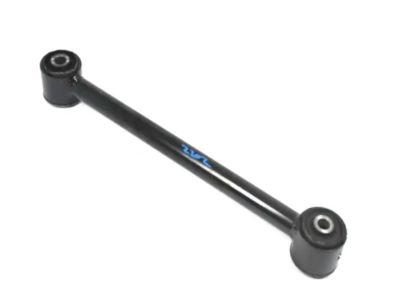
Dodge Arm Suspension Under Rear Right
Part Number: 4766950AA$71.86 MSRP: $159.49You Save: $87.63 (55%)Product Specifications- Other Name: Arm Lower Control Rear
- Position: Rear Passenger Side
- Replaced by: 4766950AC
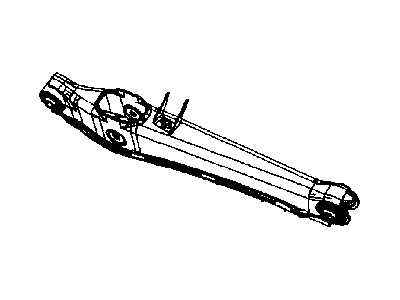
 Product Specifications
- Other Name: Arm-Lower Control ; Link Rear Lateral
- Position: Rear Lower
- Replaced by: 5105272AE
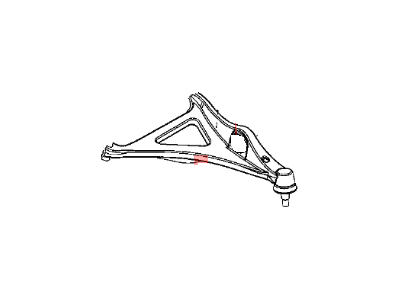
 Product Specifications
- Other Name: Arm-Lower Control
- Replaced by: 68211102AB
- Product Specifications
- Other Name: Arm-Lower Control
- Position: Front Lower
- Replaced by: 68211103AB
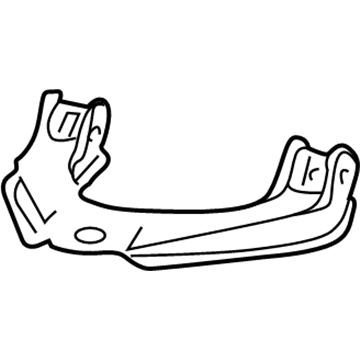
 Product Specifications
- Other Name: Arm-Control; Upper Control Arm
- Position: Driver Side
- Replaces: 4782975AD, 4764409AC, 4782975AA, 4782975AB, 4782975AC
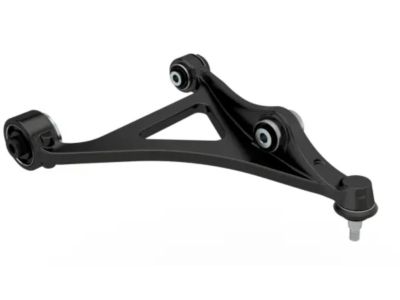
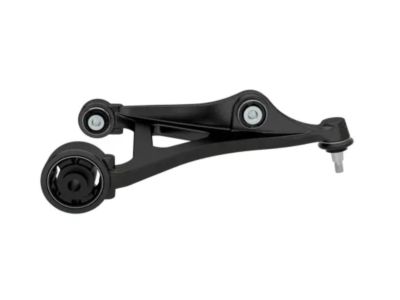
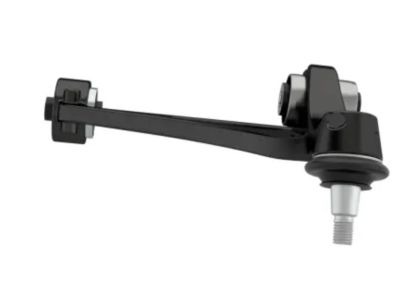
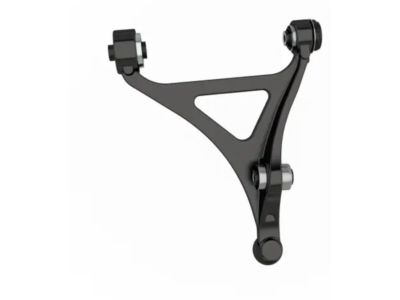
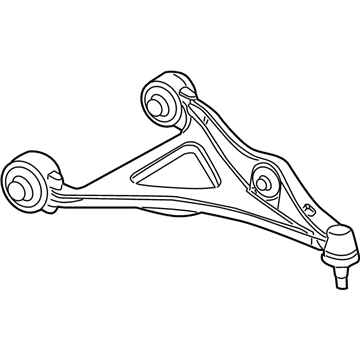
 Product Specifications
- Other Name: Arm-Lower Control; Lower Control Arm
- Position: Driver Side
- Replaces: 68211103AA
- Product Specifications
- Other Name: Arm Lower Control Front; Lower Control Arm
- Position: Passenger Side
- Replaces: 68211102AA
| Page 1 of 23 |Next >
1-20 of 458 Results
Dodge Control Arm
Our website provides genuine Dodge Control Arms at competitive prices in the market. All of our OEM Dodge Control Arms come with the assurance of the manufacturer's warranty, a stress-free return policy, and speedy delivery service. So, you can shop with confidence.
Dodge Control Arm Parts Questions & Experts Answers
- Q:How to remove and install the lower control arm on Dodge Challenger?A:Before you attempt to take off the lower control arm you need to take off the front wheel, install a jack under the car and put on the frame rails, then unbolt the wheel lug nuts and raise the car. Second, remove the engine splash shield from under the car and then remove the stabilizer bar brackets for a view at the lower control arm-to-subframe mounting bolt. This bolt should have grooves and these are normally designed to make adjustments for the wheel alignment purposes. With the involved mounting bolt still in place, undo the nut and slow and cautiously pull out the bolt to its position in the notched position of the bushing. Go on and undo the shock absorber lower mounting bolts and nuts and unplug the ABS wheel speed sensor connector from the bracket. Hold the lower control arm steady by the lower control arm skit, then unscrew the balljoint nut up to the flat of the threaded stud only but do not remove it then use ball joint remover to detach the ball joint from the lower control arm. Upon the removal of the balljoint stud nut, force the knuckle down in order to detach it from the lower control arm to allow the lower control arm to be detached from the subframe bracket. For installation, lift the lower control arm with a floor jack to approximate normal ride height prior to tightening the mounting nut at the subframe, and the lower shock absorber fasteners. This should be done in reverse to the above steps, by replacing the balljoint stud nut with a new one, and ensuring that all nuts and bolts used are tighten to the recommended torque settings. Last of all, put back the wheel and the lug nuts; lower the car and tighten the lug nuts to the recommended torque; and get the front end alignment checked, and done if it is off.
- Q:How to remove and replace the lower control arm and its bushing on Dodge Ramcharger?A:Remove the coil spring. Next, take out the control arm mounting bolt from the crossmember and detach the lower control arm. If the bushing is worn, it can be pressed out and a replacement pressed in using a vise and sleeve. Installation is the reverse of removal, but avoid tightening the mounting bolt until the weight of the vehicle is on the suspension.
Related Dodge Parts
 Dodge Shift Cable
 Dodge Coil Spring Insulator
 Dodge Bump Stop
 Dodge Leaf Spring
 Dodge Ball Joint
 Dodge Axle Beam
 Dodge Control Arm Bushing
 Dodge Front Cross-Member
 Dodge Leaf Spring Bushing
 Dodge Rear Crossmember
 Dodge Trailing Arm
 Dodge Control Arm Bracket
Browse by Model
600 Control Arm Aries Control Arm Avenger Control Arm Caliber Control Arm Caravan Control Arm Challenger Control Arm Charger Control Arm Charger Daytona Control Arm D150 Control Arm D250 Control Arm D350 Control Arm Dakota Control Arm Dart Control Arm Daytona Control Arm Diplomat Control Arm Durango Control Arm Dynasty Control Arm Grand Caravan Control Arm Hornet Control Arm Intrepid Control Arm Journey Control Arm Lancer Control Arm Magnum Control Arm Neon Control Arm Nitro Control Arm Omni Control Arm Ram 1500 Control Arm Ram 2500 Control Arm Ram 3500 Control Arm Ram 4500 Control Arm Ram 5500 Control Arm Ram Van Control Arm Ram Wagon Control Arm Ramcharger Control Arm Rampage Control Arm Shadow Control Arm Spirit Control Arm Sprinter 2500 Control Arm Sprinter 3500 Control Arm Stratus Control Arm Viper Control Arm W150 Control Arm W250 Control Arm W350 Control Arm