
My Garage
My Account
Cart
Genuine Dodge Crankshaft Seal
- Select Vehicle by Model
- Select Vehicle by VIN
Select Vehicle by Model
orMake
Model
Year
Select Vehicle by VIN
For the most accurate results, select vehicle by your VIN (Vehicle Identification Number).
102 Crankshaft Seals found
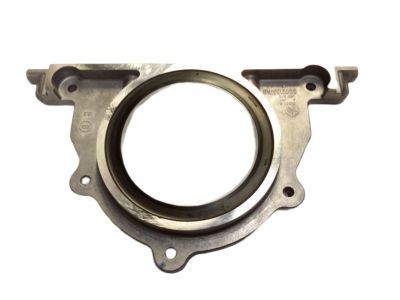
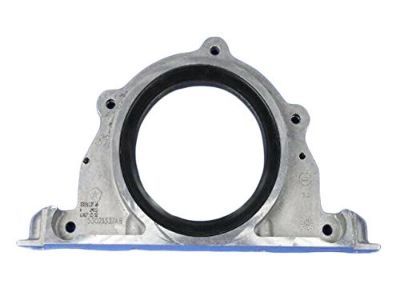
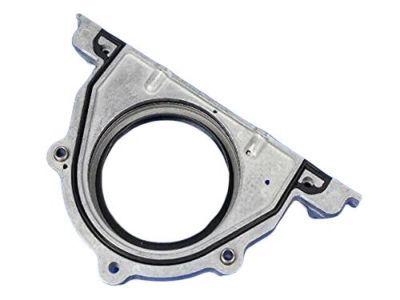
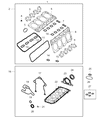
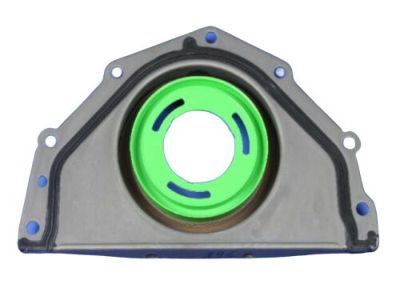
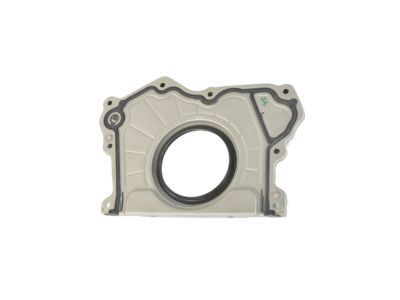
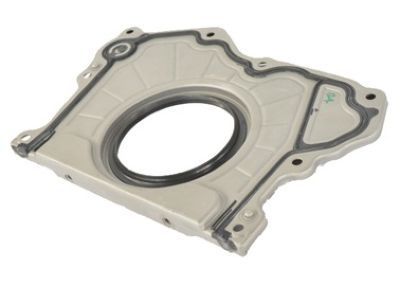
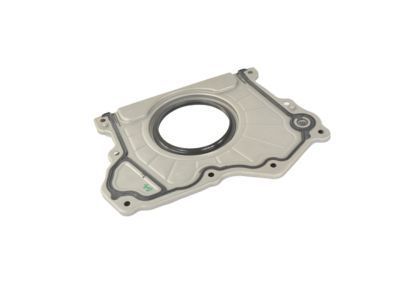
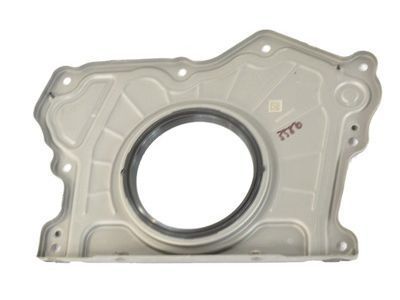
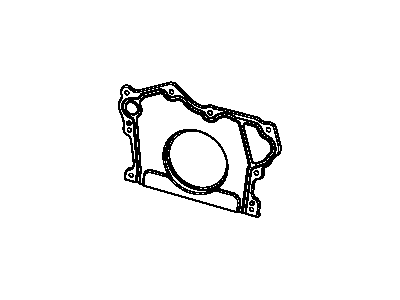
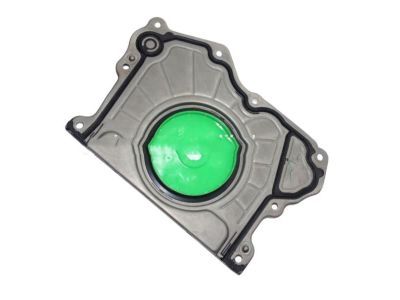
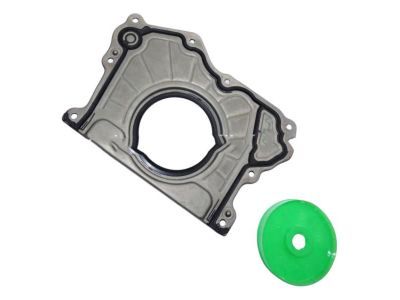
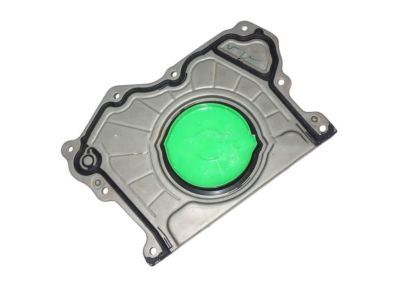
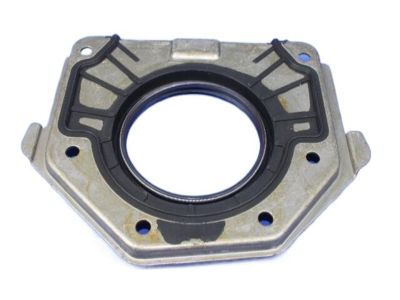
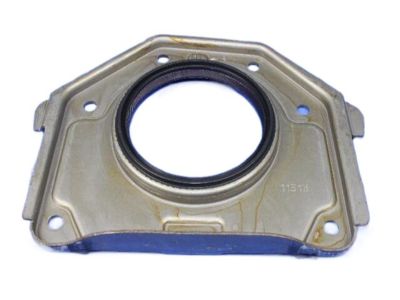
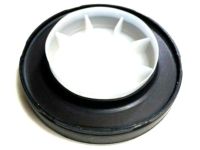
Dodge Crankshaft Rear Oil Seal Retainer
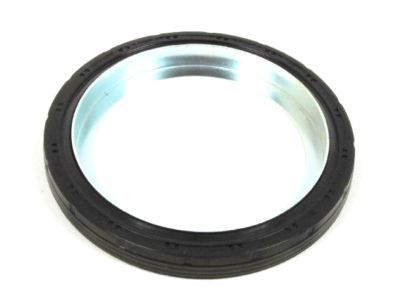
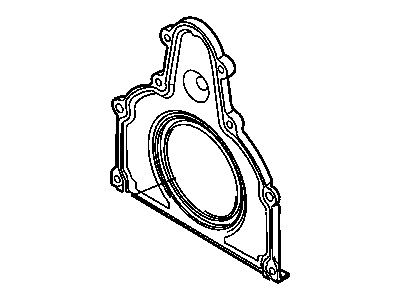
Part Number: 53021335AE$104.85 MSRP: $156.00You Save: $51.15 (33%)Product Specifications- Other Name: RETAINER Crankshaft Rear Oil Seal Not Included With Long Block Engine Install Kit; Rear Main Seal, Rear Main Seal Retainer
- Position: Rear
- Replaces: 68060342AA, 53021335AD, 53021335AC, 5140028AA, 53021335BA, 53021338AB, 68017721AA
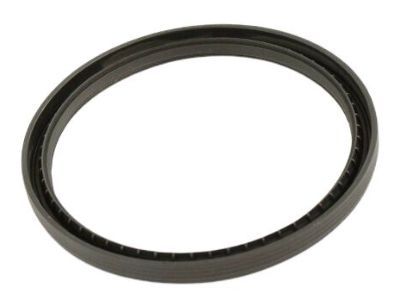
 Product Specifications
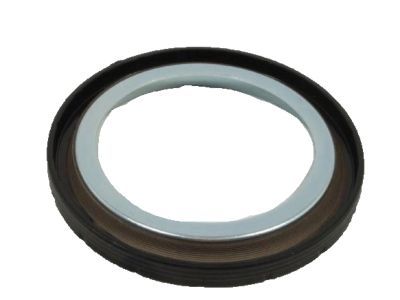
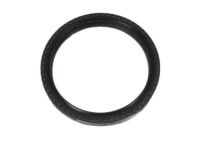
- Other Name: Rear Main Seal
 Product Specifications
- Other Name: Seal Rear Main Crankshaft; Rear Main Seal
- Replaces: 5037300AC
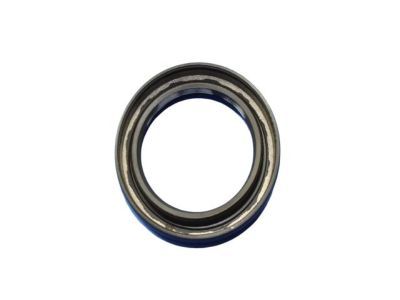
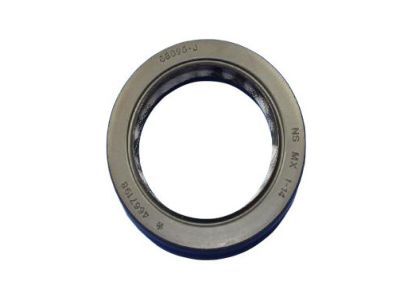
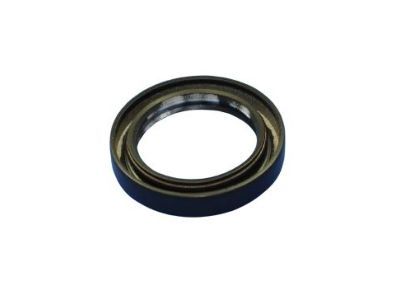
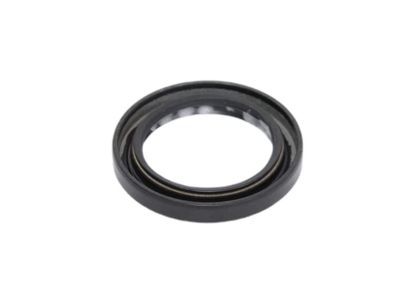

 Product Specifications
- Other Name: Seal Front Main Crankshaft; Front Cover Seal, Front Crank Seal, Front Seal
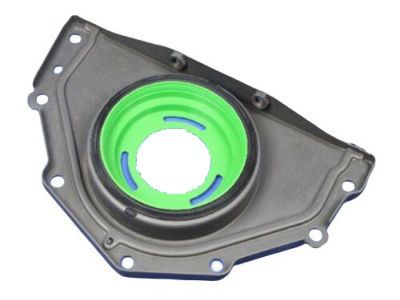
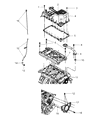
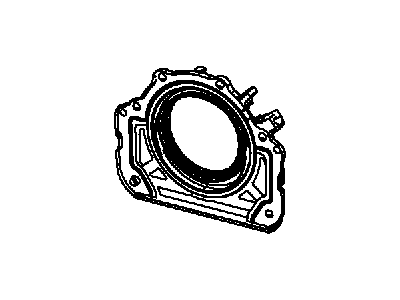
Dodge RETAINER-CRANKSHAFT Rear Oil
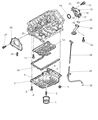
Part Number: 4663870AB$121.50 MSRP: $181.00You Save: $59.50 (33%)Product Specifications- Other Name: RETAINER And Seal Crankshaft Rear Oil
- Position: Rear
- Replaced by: 4663870AC
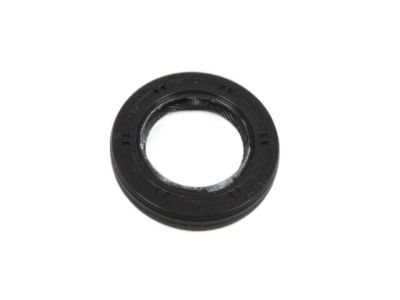
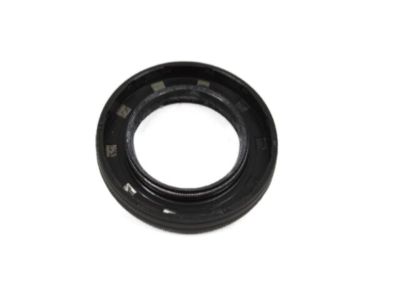
 Product Specifications
- Other Name: Seal Front Main Crankshaft
 Product Specifications
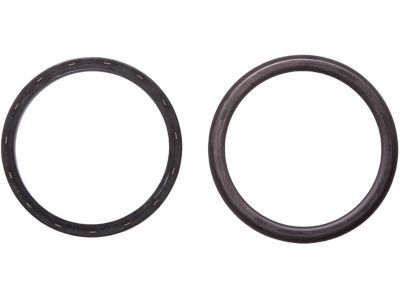
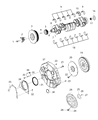
- Other Name: Seal Crankshaft Oil Rear
- Replaced by: 68444256AA
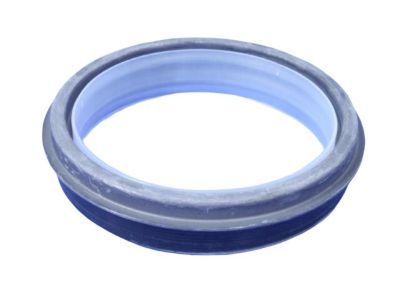
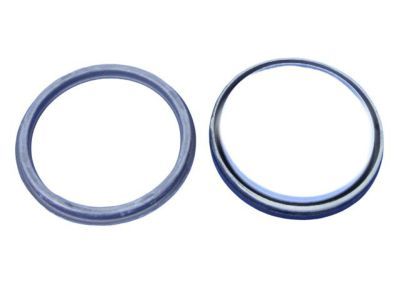
 Product Specifications
- Other Name: Seal Crankshaft Oil Rear
- Replaced by: 68444256AA
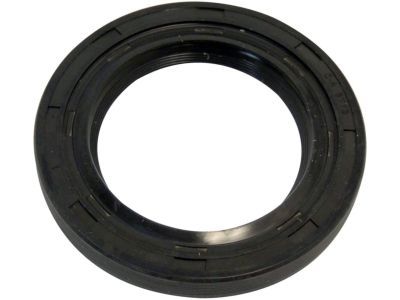
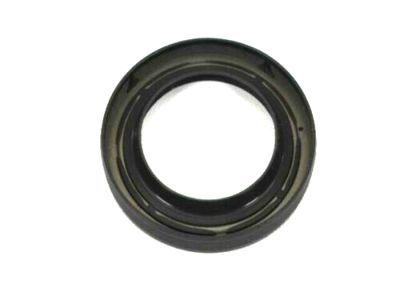
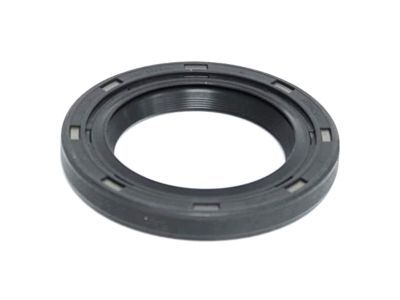
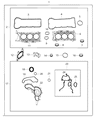 Product Specifications
- Other Name: Seal Crankshaft Oil Front
- Replaces: 5184541AB
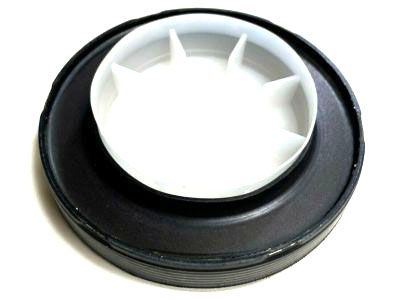
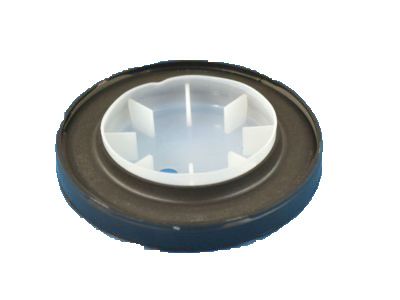
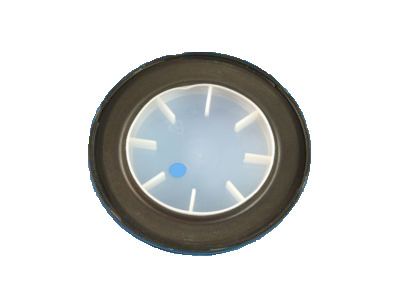
 Product Specifications
- Other Name: Seal Crankshaft Oil Front
- Replaces: 53021585AB
 Product Specifications
- Other Name: RETAINER And Seal Crankshaft Rear Oil; Rear Main Seal Retainer
- Replaced by: 68433335AA
- Replaces: 68078786AA, 5184285AG, 68152024AA
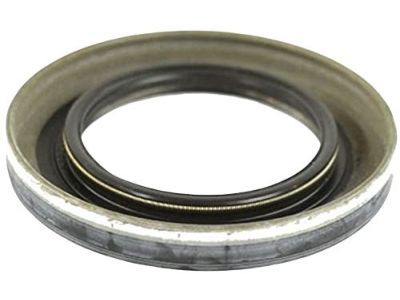
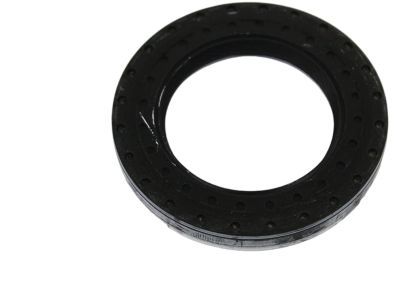

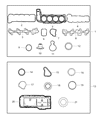 Product Specifications
- Other Name: Seal Crankshaft Oil Front
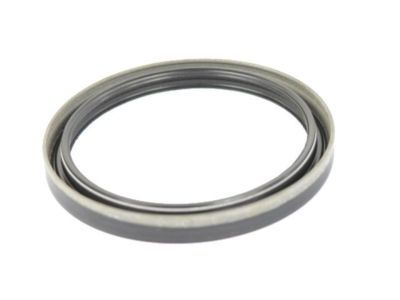
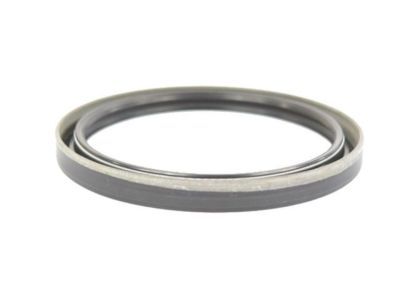
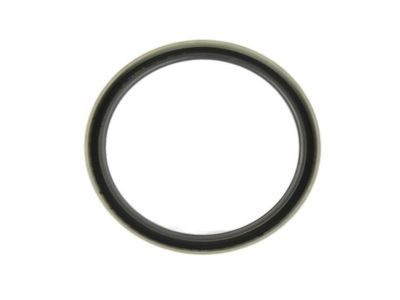
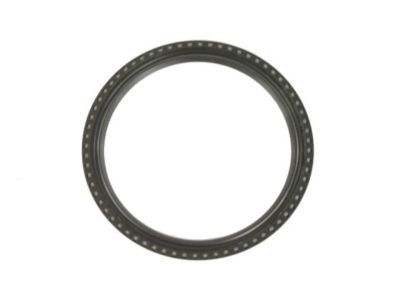
 Product Specifications
- Other Name: Seal Crankshaft Oil Rear
- Replaces: 68045792AA
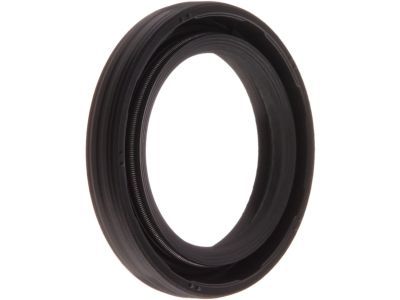
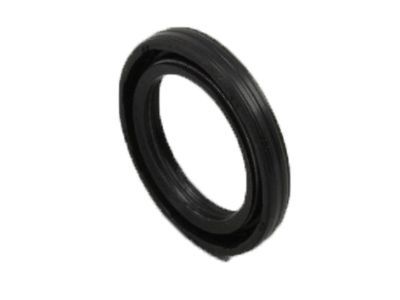
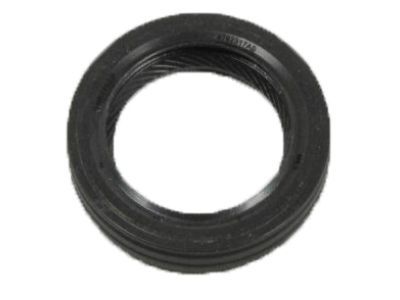

 Product Specifications
- Other Name: Seal Crankshaft Oil Front
- Replaces: 4273275, 4792317
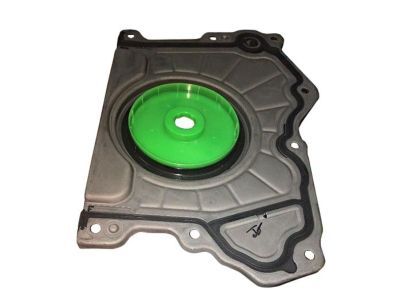
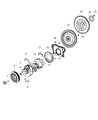 Product Specifications
- Other Name: RETAINER And Seal Crankshaft Rear Oil
- Replaced by: 68433335AA
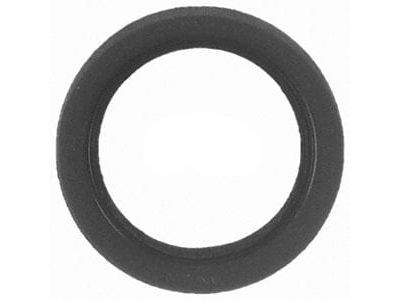
 Product Specifications
- Other Name: Seal Crankshaft Oil Front; Front Crank Seal, Front Seal
- Replaces: 68147500AA
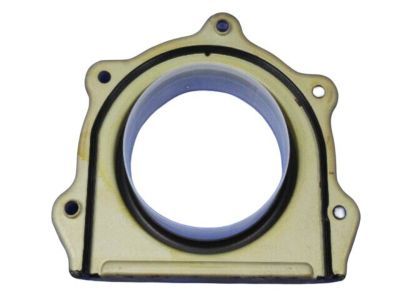
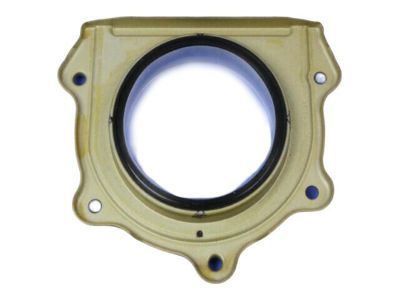
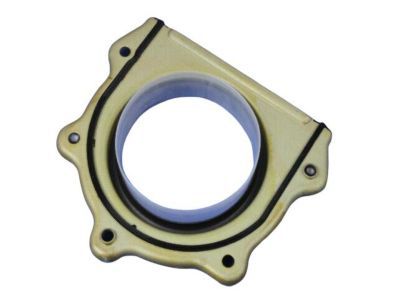
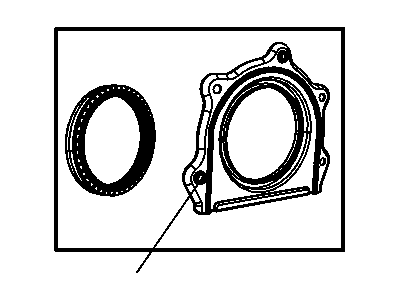
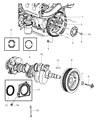
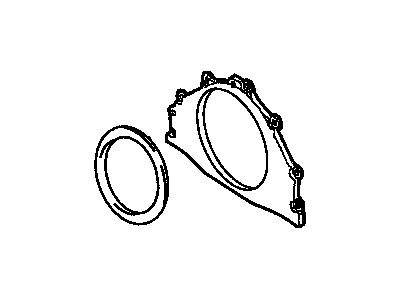
Dodge RETAINER-CRANKSHAFT Rear Oil
Part Number: 68031388AA$118.62 MSRP: $202.14You Save: $83.52 (42%)Product Specifications- Other Name: RETAINER And Seal Crankshaft Rear Oil; Rear Main Seal Retainer
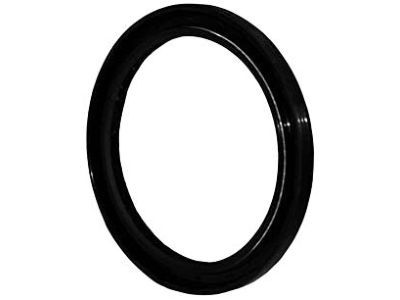
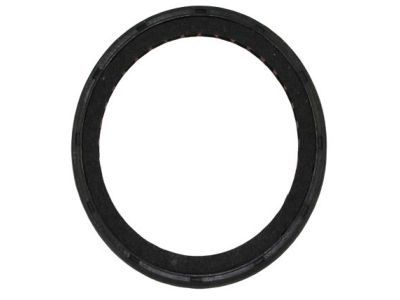
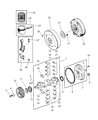 Product Specifications
- Other Name: Seal; Rear Main Seal
- Position: Rear
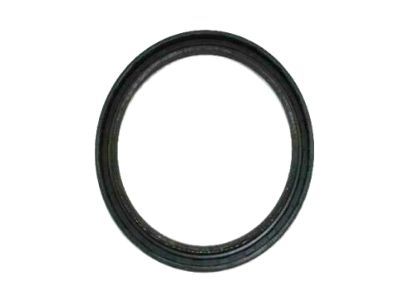
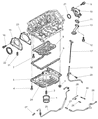 Product Specifications
- Other Name: Seal Rear Main Crankshaft; Rear Main Seal, Rear Main Seal Gasket
- Position: Rear
 Product Specifications
- Other Name: RETAINER And Seal Crankshaft Rear Oil
- Replaced by: 68433467AA
| Page 1 of 6 |Next >
1-20 of 102 Results
Dodge Crankshaft Seal
Our website provides genuine Dodge Crankshaft Seals at competitive prices in the market. All of our OEM Dodge Crankshaft Seals come with the assurance of the manufacturer's warranty, a stress-free return policy, and speedy delivery service. So, you can shop with confidence.
Dodge Crankshaft Seal Parts Questions & Experts Answers
- Q:What is the proper method for replacing the crankshaft seal in a V8 engine on Dodge Challenger?A:Since 2007, you can't just replace the rear Crankshaft Seal. Instead, you have to replace the entire crankshaft seal retainer/housing unit. When we take out the crankshaft seal retainer/housing, we must buy a new one. In V8 engines, the one-piece rear Crankshaft Seal installs into a bolt-on housing, meant to be replaced after taking out both transmission and driveplate/flywheel. Begin with draining your engine oil, then take off the oil pan. Unscrew the bolts that hold the crankshaft seal retainer housing on, and discard the complete assembly when removing it away from the crankshaft tip. Using a new gasket, lay the seal housing over the crankshaft and bolt it to the block. Tighten the bolts in an X-pattern to the right torque value. After uncoupling everything during removal, putting it all back in place happens in the opposite order.
- Q:How to replace Crankshaft Seal on Dodge Neon?A:Do not rotate the camshaft(s) or crankshaft when the timing belt is removed or damage to the engine may occur. Begin by removing the timing belt cover(s) and then the timing belt(s). Use a bolt-type gear puller to pull the crankshaft sprocket from the crankshaft, ensuring to remove the Woodruff key. Wrap the tip of a small screwdriver with tape and, working from below the right inner fender, pry the seal out of its bore, taking care to avoid damaging the oil pump assembly, crankshaft, and seal bore. Clean and inspect the seal bore and sealing surface on the crankshaft, removing minor imperfections with emery cloth; if a groove is worn in the sealing surface, a new seal may not stop the leak. Lubricate the new seal with engine oil and drive it into place using a hammer and an appropriately sized socket. The remaining steps involve reversing the removal process. The crankshaft sprocket depth is set to a factory specification to ensure correct timing belt alignment, so use a special tool with a built-in setting for installation. Position the crankshaft sprocket with the word FRONT facing out and install it onto the crankshaft. Finally, reinstall the timing belt(s) and timing covers, then run the engine and check for oil leaks.
- Q:How to remove and install the timing cover, chain, crankshaft seal, and sprockets in 3.9L V6 engine on Dodge Ramcharger?A:To replace the front oil seal, it is advisable that the negative cable from the battery be removed. Pull down the drive belts enough to get them off the crankshaft pulley; now give the radiator shroud mounting screws and put it back over the engine. Then, it is necessary to pull out the fan assembly and then the crankshaft pulley came with the vibration damper bolt washer fixed to the upper end of the crankshaft. Some cautions are as follows; always employ a puller that screws on to the vibration damper in order to remove it from the crankshaft since adopting a jaw-type puller that grips the edge is ineffective. Remove the old seal using a large screwdriver and while doing so avoid damaging the crankshaft or the surface of the timing cover where the new seal is to be fitted. To fit the new seal Chrysler tool no. C-4251-3 should be used where available, otherwise a large diameter pipe or socket and hammer does the job so long as the pipe or socket is of the same outside diameter as the oil seal. The outer peripheral and lips of the seal should be greased with moly-base grease and then fully driven into the cover face, square entry. Last of all, install the Wiimote and operate the Wii console like the removal instruction but in the opposite manner.
Related Dodge Parts
 Dodge Cylinder Head Gasket
 Dodge Crankshaft Pulley
 Dodge Dipstick
 Dodge Dipstick Tube
 Dodge Cylinder Head
 Dodge Crankshaft
 Dodge Cylinder Head Bolts
 Dodge Crankshaft Thrust Washer Set
 Dodge Crankcase Breather Hose
 Dodge Crankshaft Timing Gear
 Dodge Differential Bearing
 Dodge Differential Cover Gasket
Browse by Model
600 Crankshaft Seal Aries Crankshaft Seal Avenger Crankshaft Seal Caliber Crankshaft Seal Caravan Crankshaft Seal Challenger Crankshaft Seal Charger Crankshaft Seal Colt Crankshaft Seal D150 Crankshaft Seal D250 Crankshaft Seal D350 Crankshaft Seal Dakota Crankshaft Seal Dart Crankshaft Seal Daytona Crankshaft Seal Durango Crankshaft Seal Dynasty Crankshaft Seal Grand Caravan Crankshaft Seal Hornet Crankshaft Seal Intrepid Crankshaft Seal Journey Crankshaft Seal Lancer Crankshaft Seal Magnum Crankshaft Seal Neon Crankshaft Seal Nitro Crankshaft Seal Omni Crankshaft Seal Ram 1500 Crankshaft Seal Ram 2500 Crankshaft Seal Ram 3500 Crankshaft Seal Ram 4500 Crankshaft Seal Ram 50 Crankshaft Seal Ram 5500 Crankshaft Seal Ram Van Crankshaft Seal Ram Wagon Crankshaft Seal Ramcharger Crankshaft Seal Shadow Crankshaft Seal Spirit Crankshaft Seal Sprinter 2500 Crankshaft Seal Sprinter 3500 Crankshaft Seal Stealth Crankshaft Seal Stratus Crankshaft Seal Viper Crankshaft Seal W150 Crankshaft Seal W250 Crankshaft Seal W350 Crankshaft Seal